Search for answers or browse our knowledge base.
Start Campaign
Overview
Phishing is the most common cyber-crime. A careless click by an employee can compromise sensitive information. Our Phishing Simulation tool will enable you to evaluate the employees’ awareness about phishing using scheduled customized campaigns.
Starting a Campaign
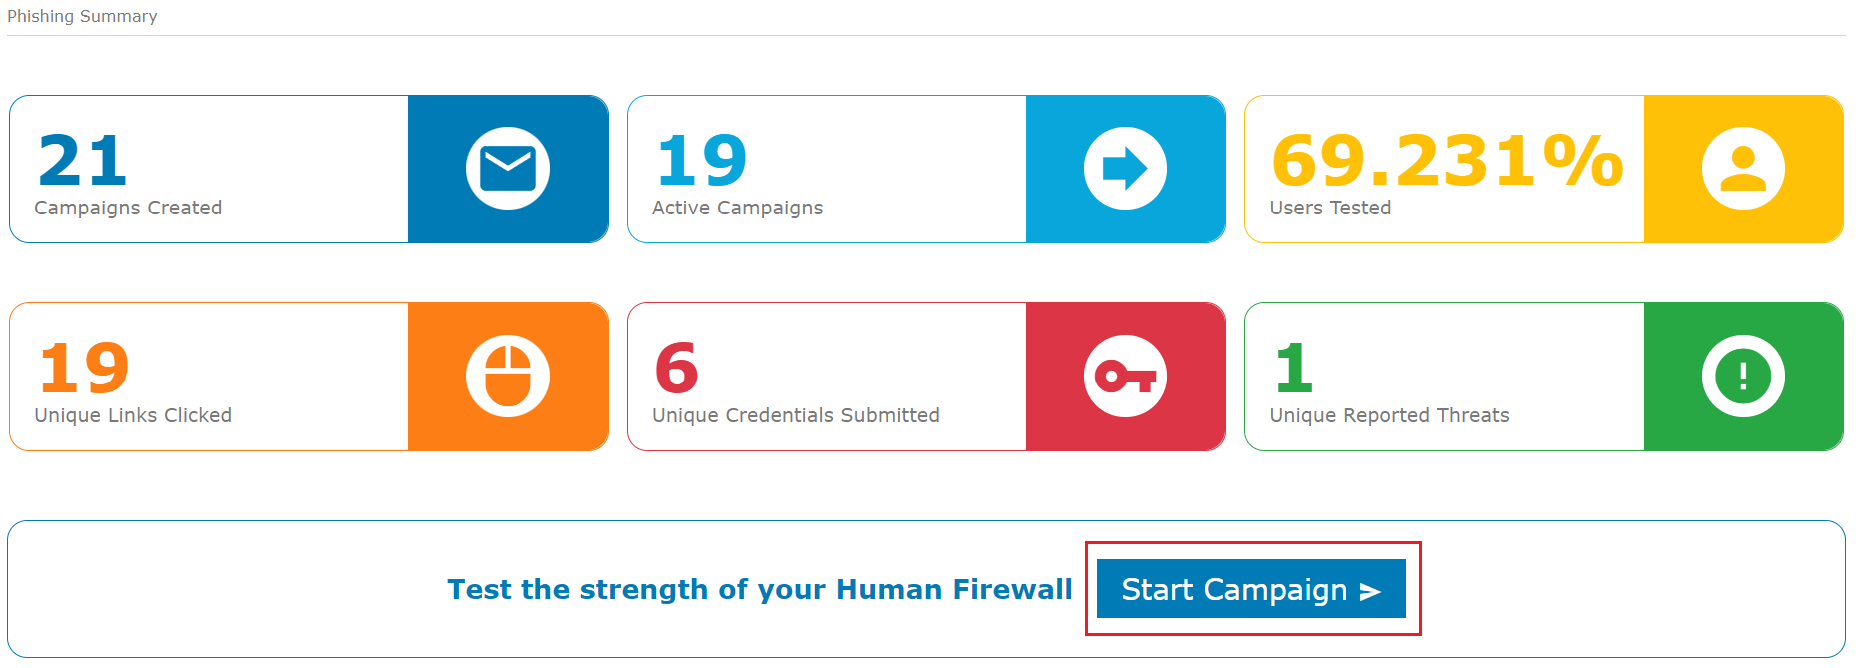
You can initiate a phishing campaign by Clicking the Start Campaign option on the home page.
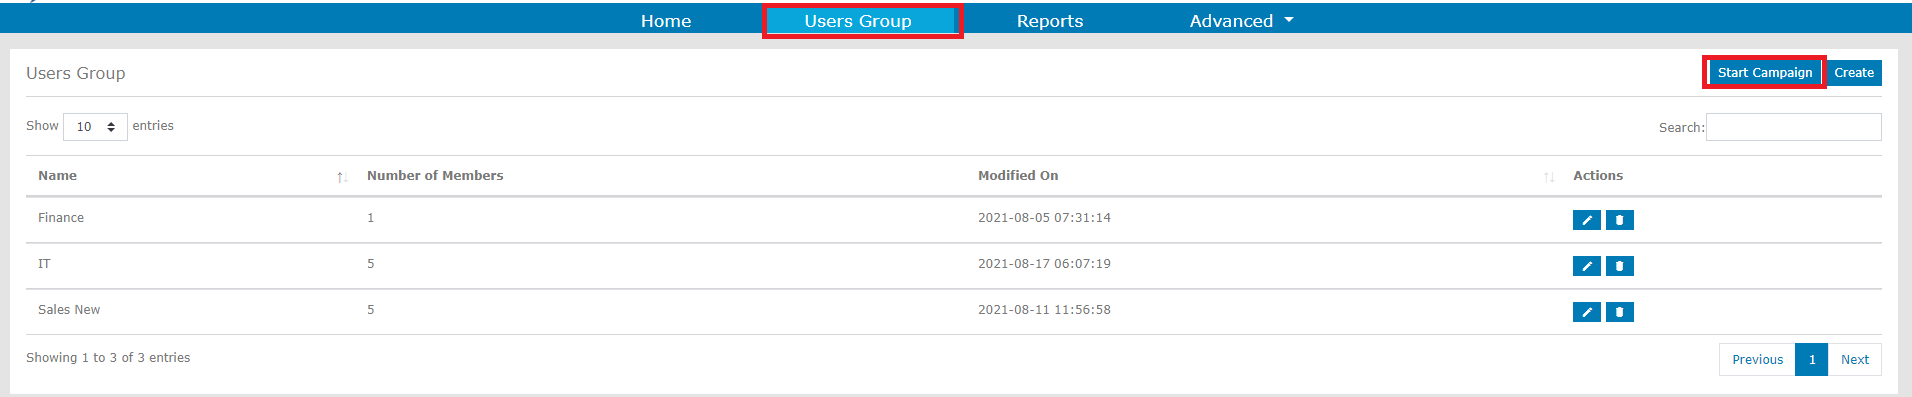
You can also start a campaign by clicking Users Group and then selecting the Start Campaign option on the top right side.
Steps to Create a Campaign
You can create a Phishing Campaign in just 4 steps.
1) Start
Enter the Name for your campaign. The name of the phishing campaign should be unique. You cannot use a campaign name that was used earlier.
Choose the Attack Category.
1) Click Bait – You can select this category when you want to entice the targeted user to click a link sent in the email.
2) Credential Harvesting – You can select this category when you want to entice the targeted user to submit credentials in a website. Credentials entered by the users are not collected.
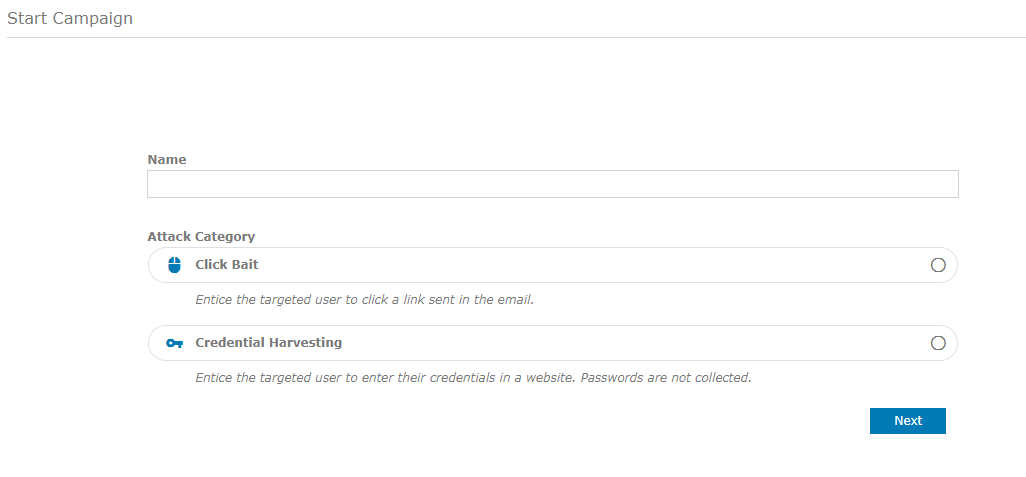
After choosing the Attack Category, click Next.
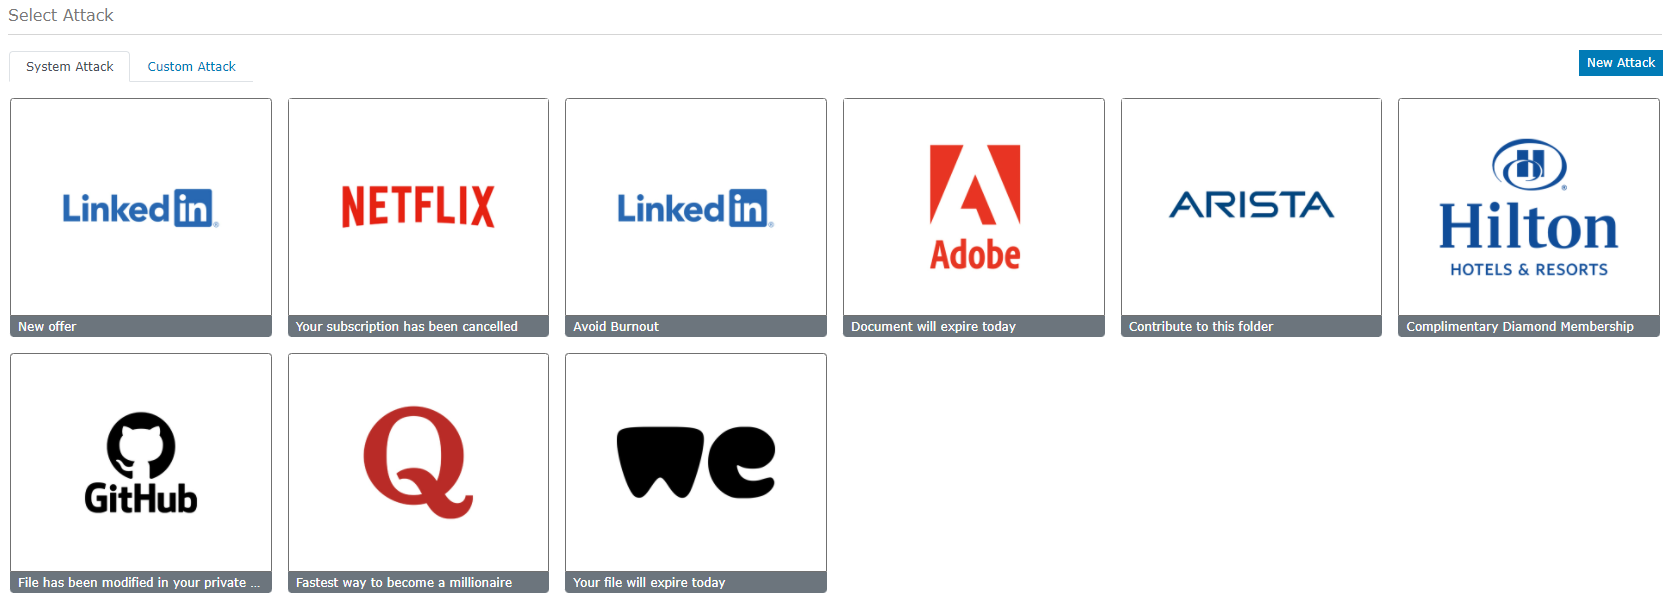
2) Select Attack
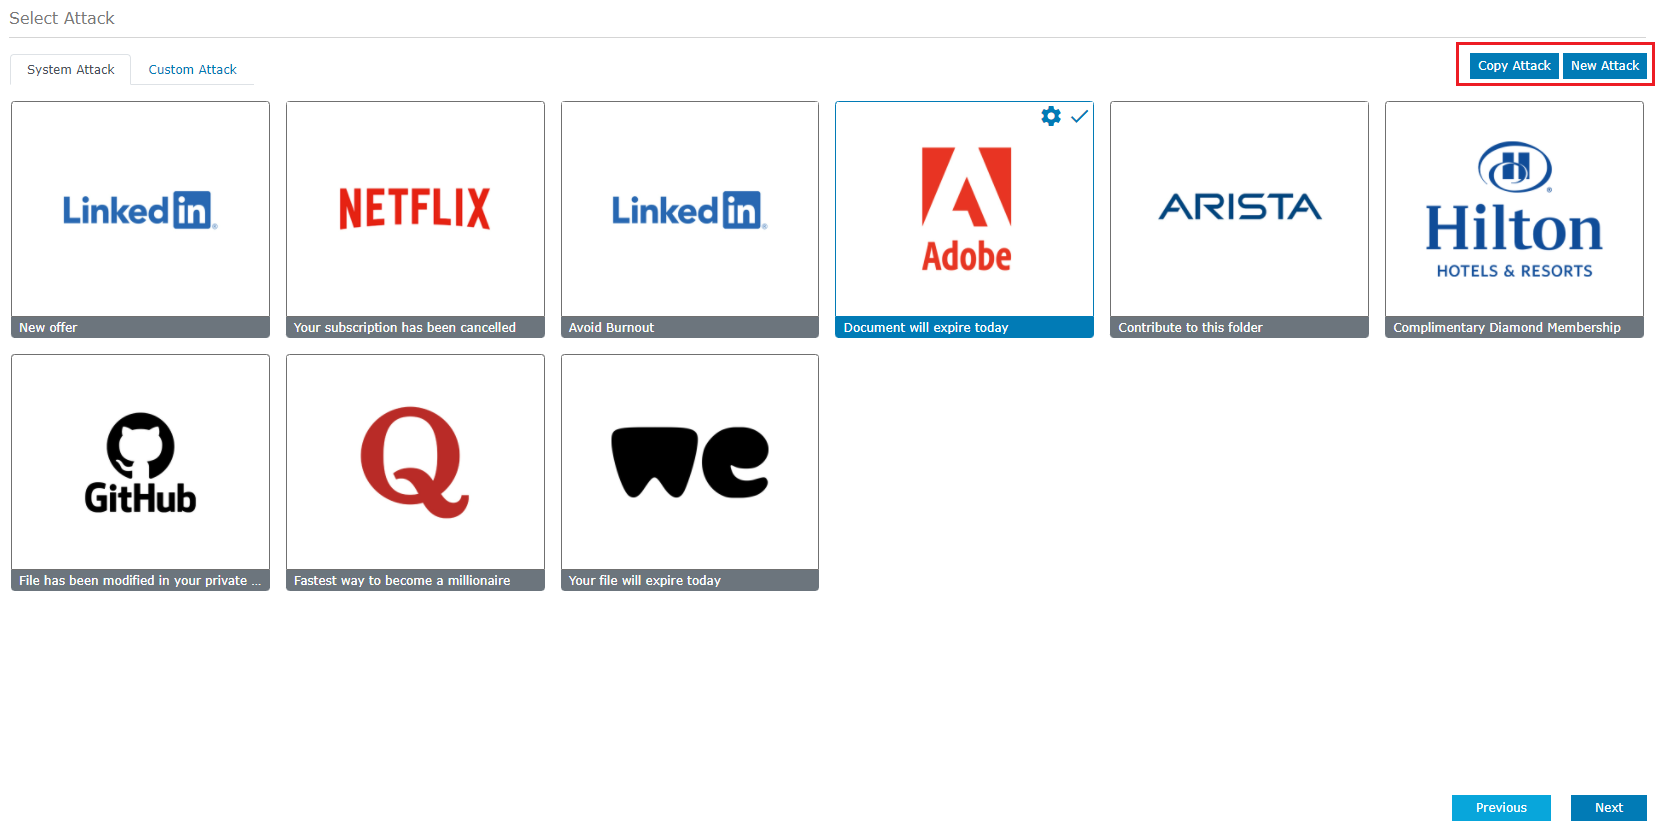
The second step is to select a Phishing Attack. You can either choose from the list of System Attacks or create Custom Attacks.
System Attack
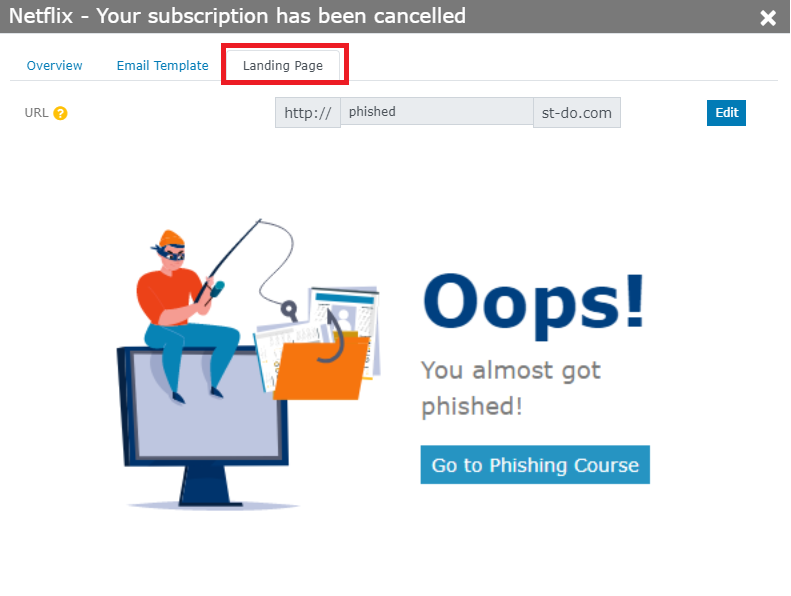
Our Phishing Simulation tool provides a list of attacks for you to choose from. Each System Attack will have a preconfigured Email Template and Landing Page.
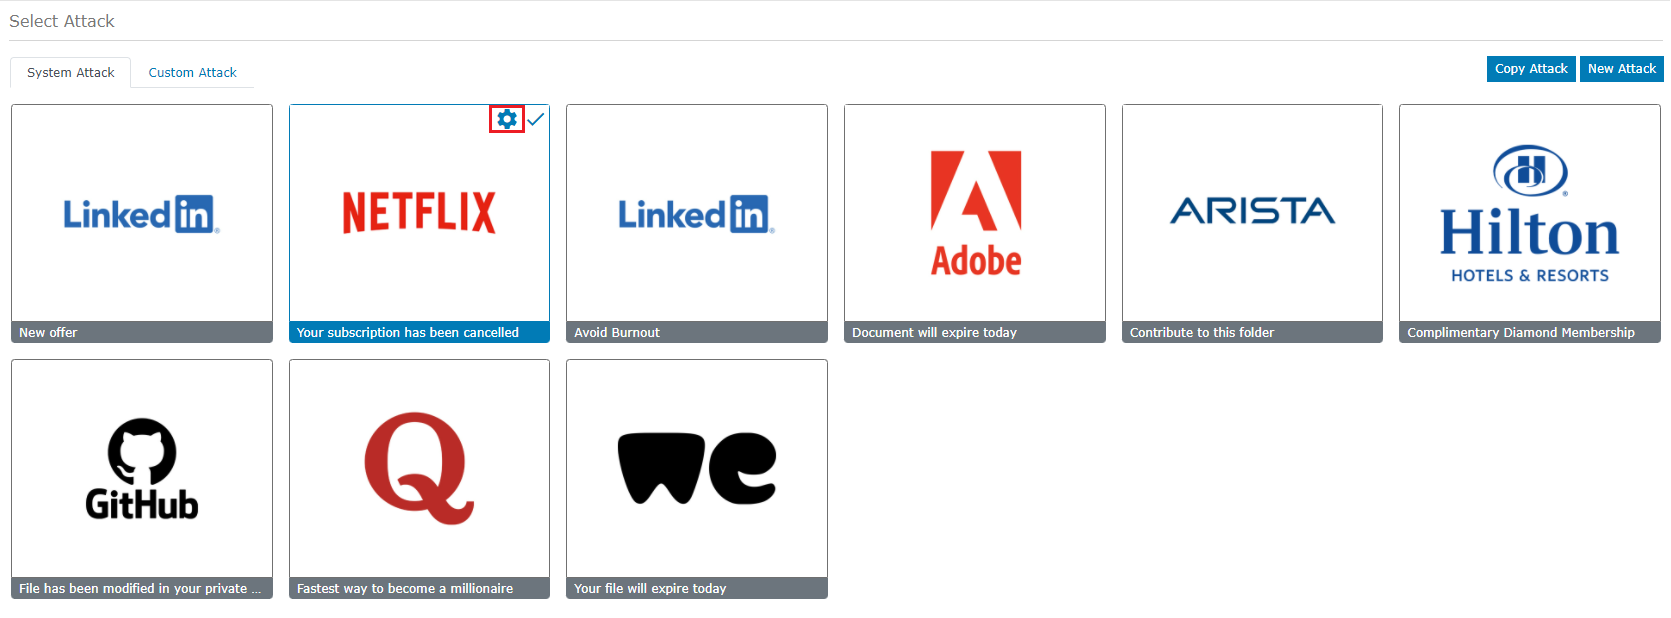
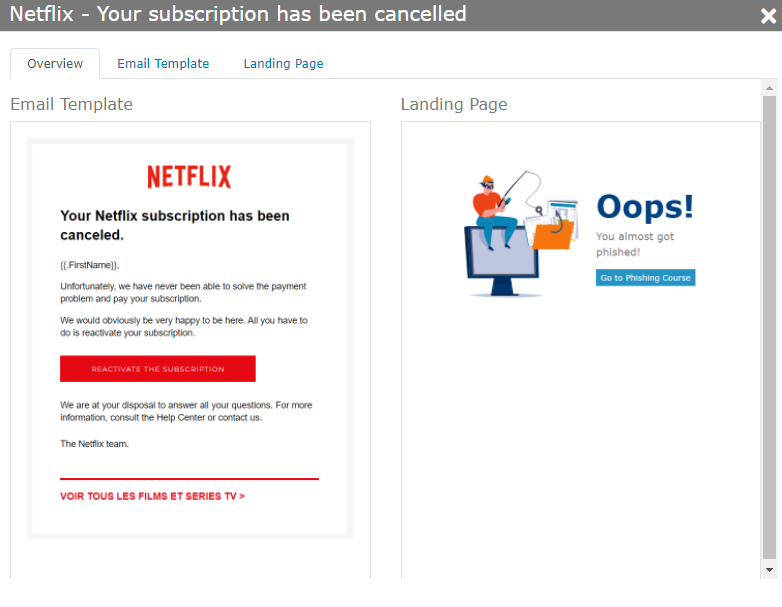
You can see the Overview of the Attack, it’s Email Template and Landing Page by clicking the “Settings” icon.
Custom Attack
You can edit the email templates and the landing pages to create your own Custom Attack.
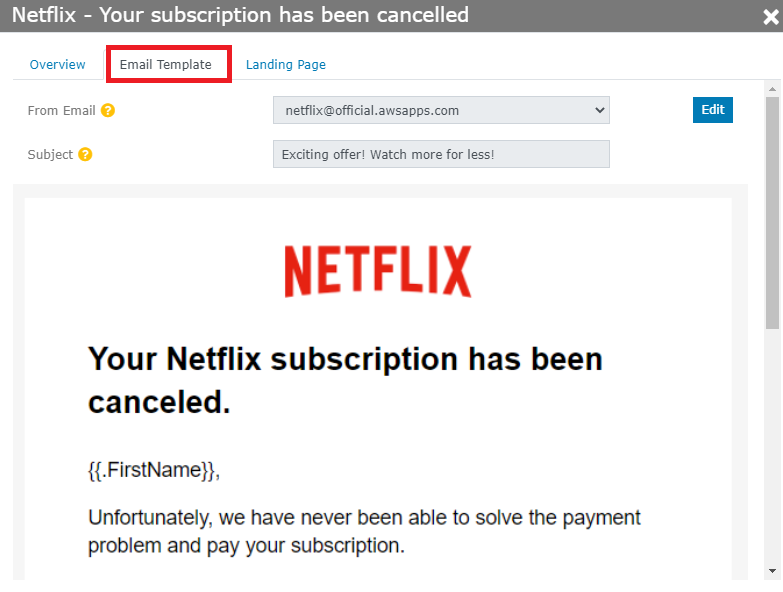
To edit the Email Template of an attack, click the “Settings” icon and click “Edit” on the ‘Email Template’ tab.
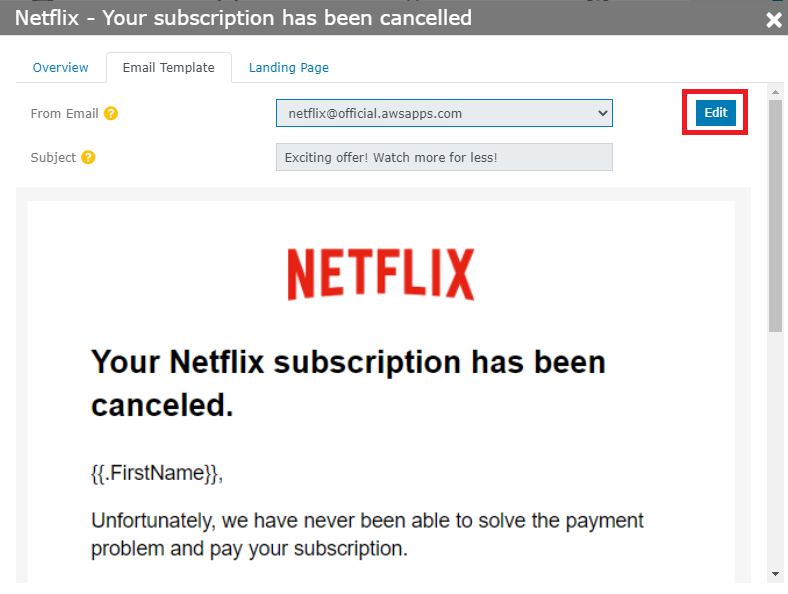
You can edit the ‘Subject’, “Name of the Template’ and the contents of the Template. After you finish Editing, Click “Save”.
After you click “Save”, you will be prompted to name the Attack. Enter the Name of the Attack and the Brand. In this case, the Brand name will be “NetFlix”. Click “Save”.

You will see a confirmation on the top left that says “Attack created successfully.”

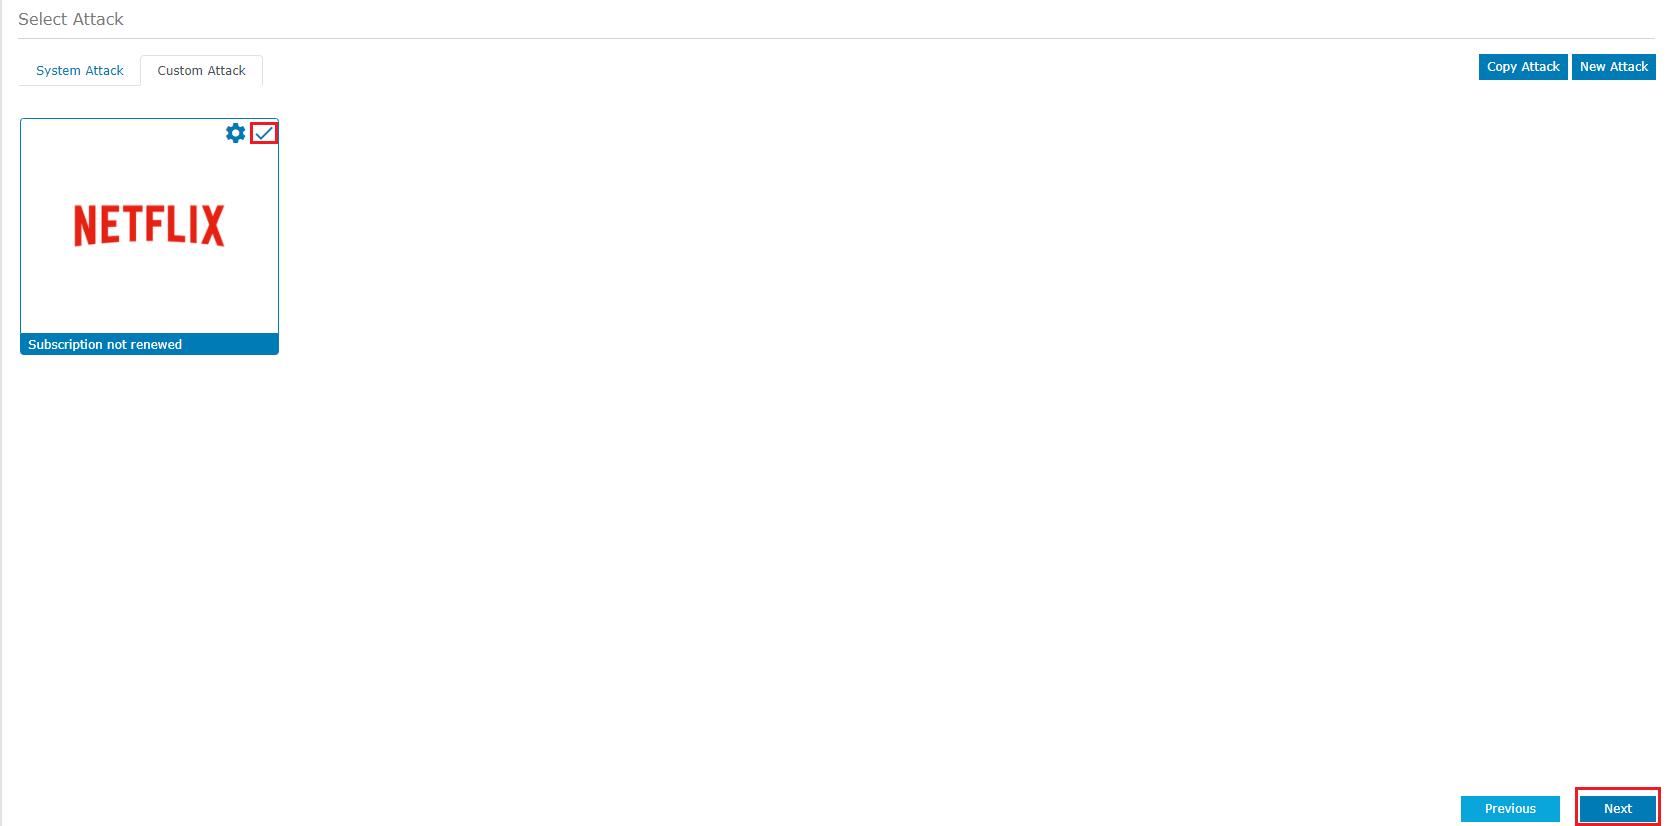
Click the “Custom Attack” tab and you will now be able to see the attack that you created.

To use the Custom Attack in the Phishing Campaign, Select the Attack by clicking on the attack and click “Next”.
You can also create Custom Attacks using the “Copy Attack” and “New Attack” option. You can read more about those options here.
NOTE: System attacks that are edited will automatically be shown under ‘Custom Attacks’ tab.
After selecting the attack type, click Next to progress to the next step.
3) Assign
The next step is to assign target users for the Phishing Campaign. The target users can be selected based on the department they belong to or skill level. For example: you can create an user group with all the users who belong to Finance Department or create an user group with all the users who had failed the Phishing Test in the past.
You can select the Users Group for this attack. You can select more than one Users Group for your campaign.

If you would like to add users to or remove users from an existing users group, you can do that by clicking Update Group. The same user can be added to more than one user group.
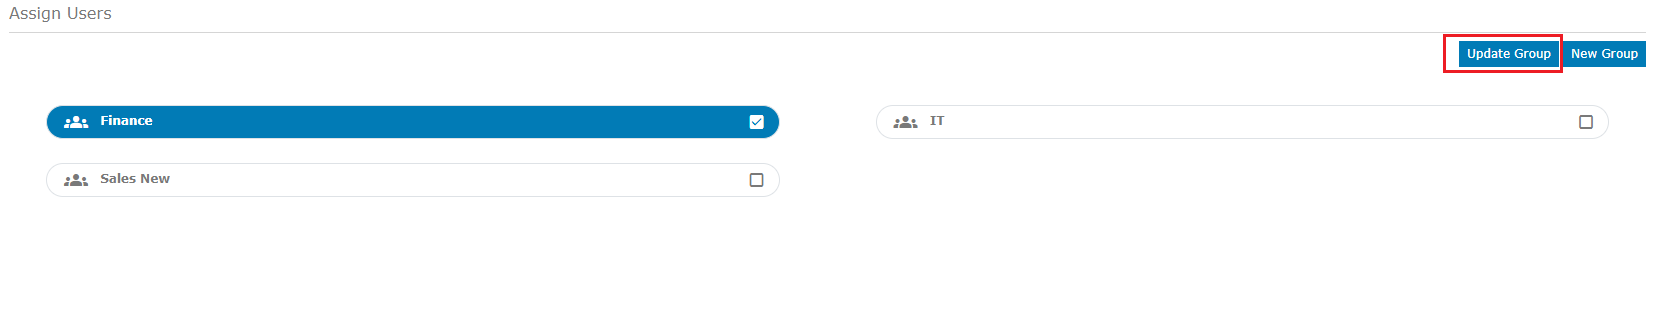
You can also create a new users group by clicking the New Group option on the right side of the screen.

You can learn more about Users Group here.
After selecting the Users Group, Click Next to progress to the next step.
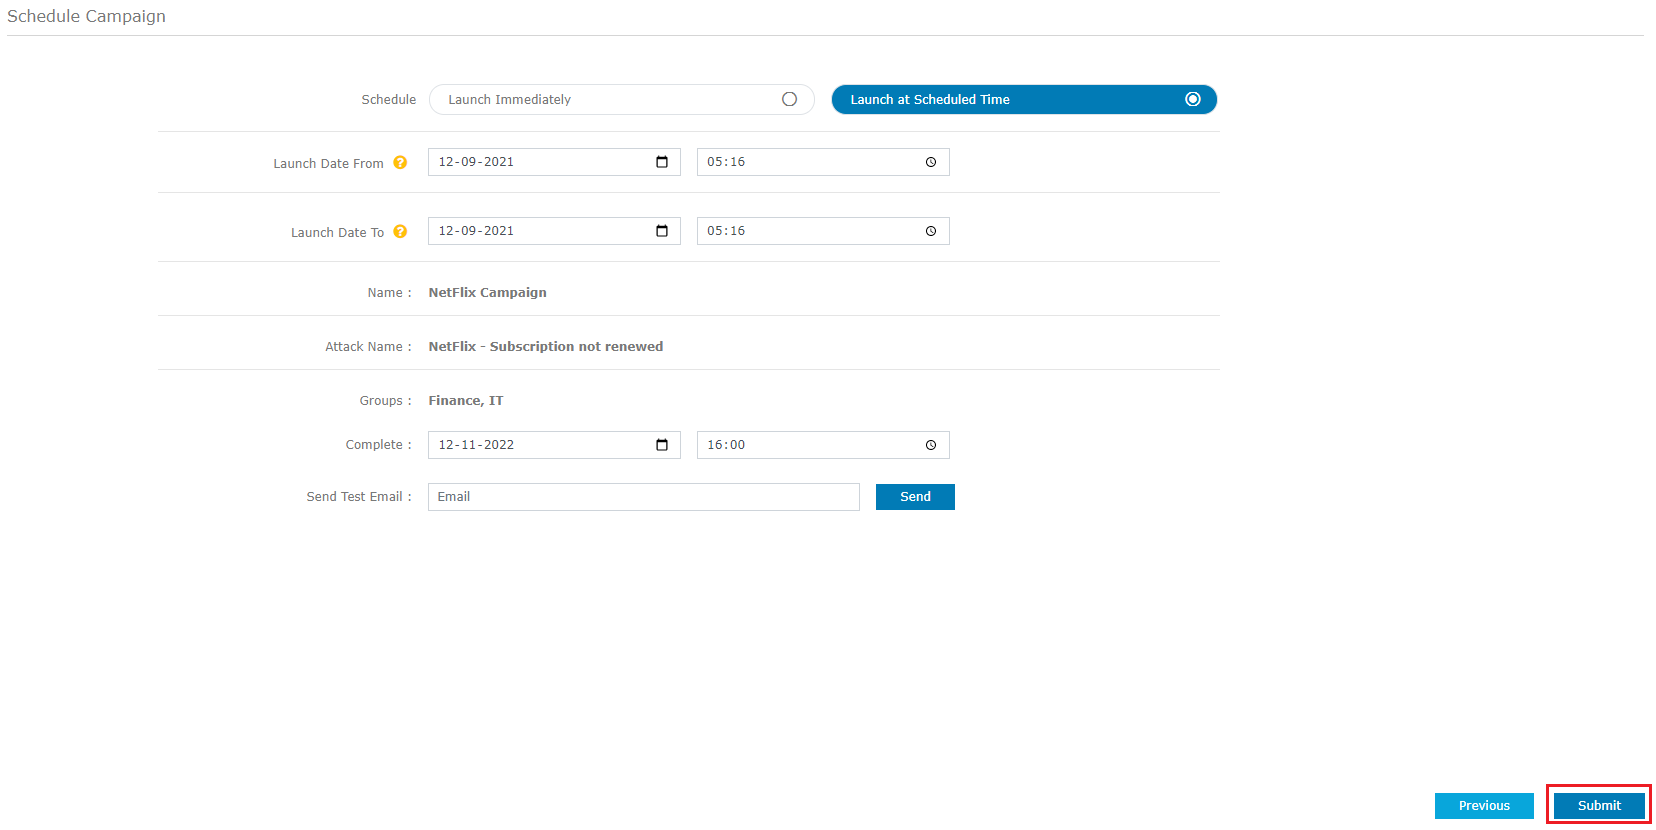
4) Schedule
The last step in creating your Phishing Campaign is scheduling it. You can Launch your campaign immediately or Schedule it for a later time.
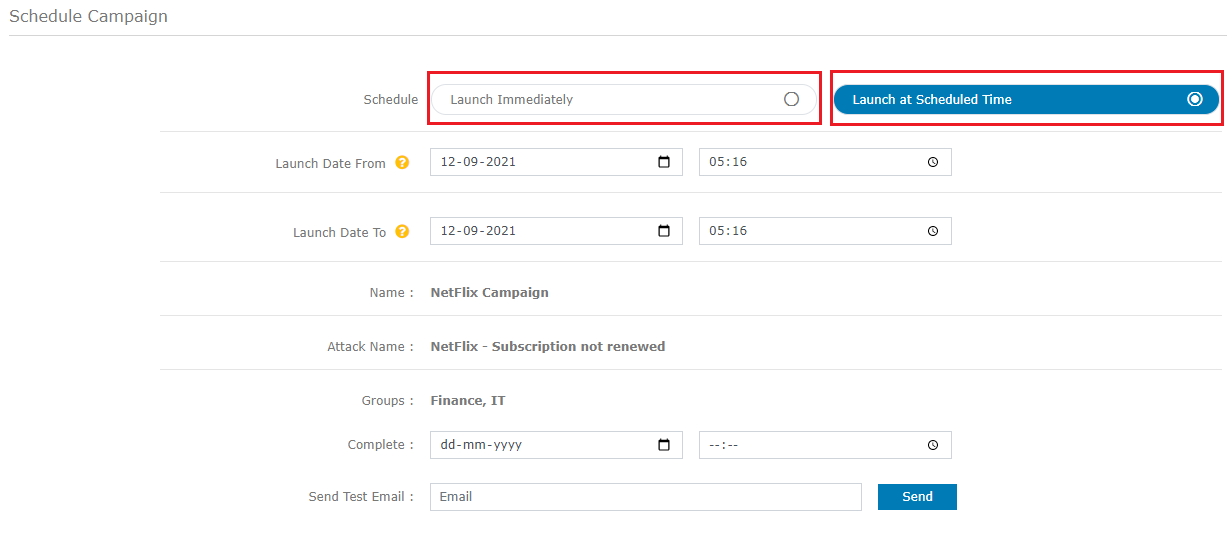
You can choose the Date and Time for the Campaign to end. The Campaign will remain active till that date and time.

You can send a Test Email to see a preview of the Email template that would be sent to the users.
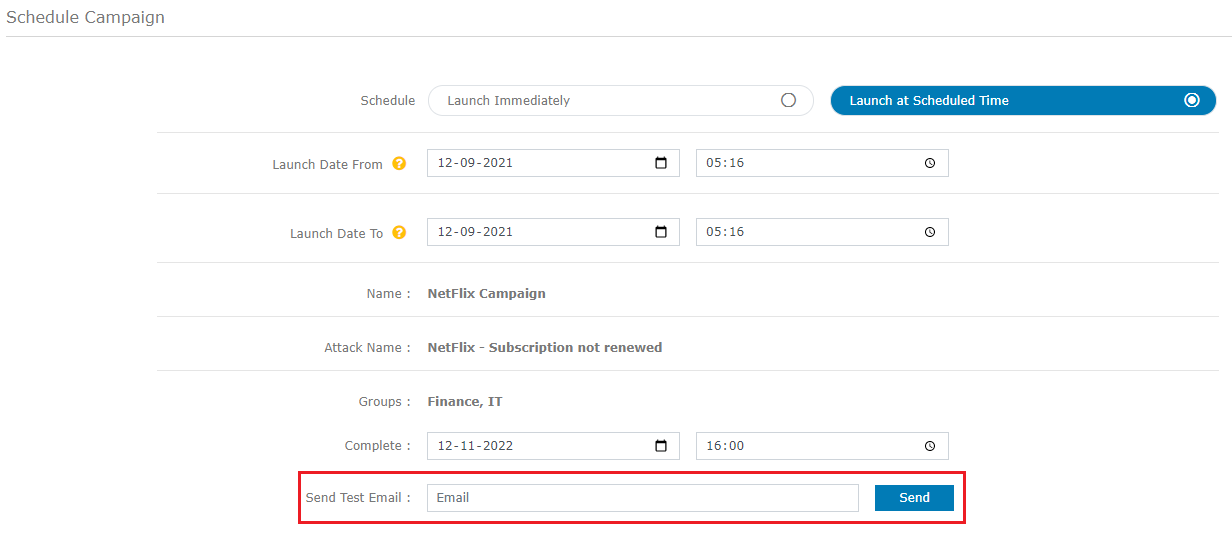
Click Submit to launch the campaign.