Search for answers or browse our knowledge base.
Learning Paths
Overview
Learning Path is a collection of courses that are required to be completed to achieve a specific goal. The Learning path certificate is issued when all the mandatory courses required for Learning Path are completed.
How to add a New Learning Path Category?
Click the Courses option under the Admin section.
Select the Learning Paths option.
Click Manage Category on the right side of your screen.
Enter the name of the new Learning Path(LP) Category.
Click Save to save the new category successfully.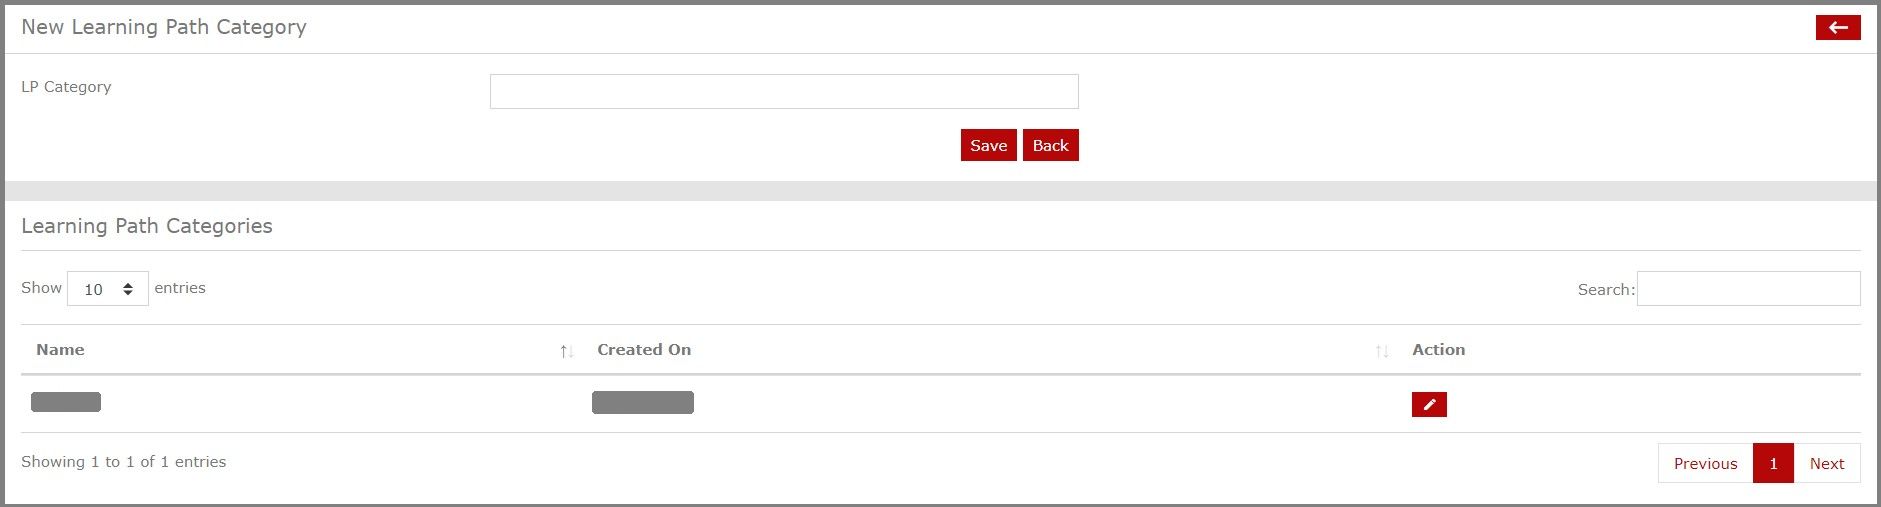
On the left side, the learner can choose how many Entries he wants to see on a page.
In case the learner has too many entries, the learner may use the Search option on the right side.
Use the pencil icon under Actions to edit the name of the created LP Category.
How to create a New Path?
Click the Courses option under the Admin section.
Select the Learning Paths option.
Click New Path on the right side of your screen.
Enter the details as asked.
Select the LP category under which you want to create a new path.
Give a Start and End Date for the new path.
Then, give a description of the new path.
Select the Order of the learning path visible to users.
Choose a File as an Image for the new path.
Click Save to successfully create a new path. 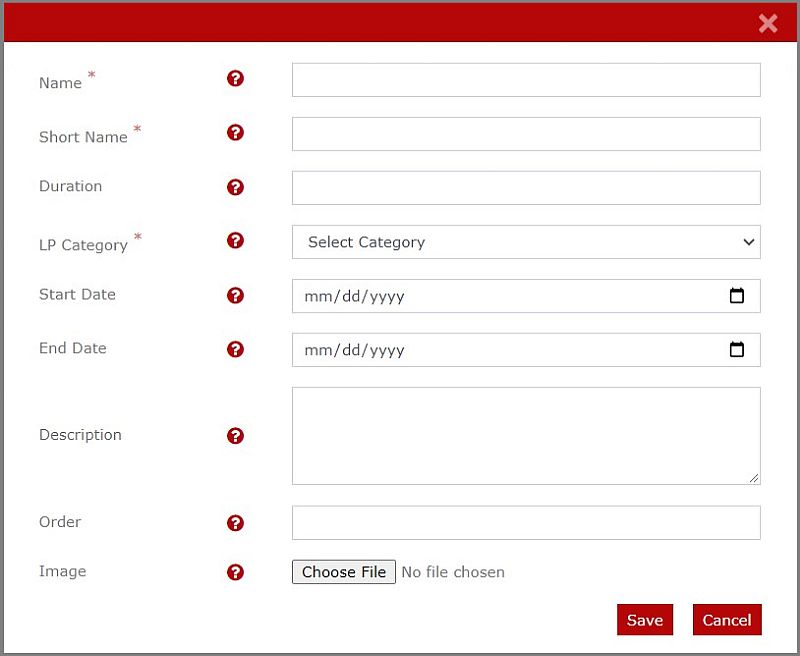
Managing the Learning Paths(LP)
Click the Courses option under the Admin section.
Select the Learning Paths option.
On the left side, the learner can choose how many Entries he wants to see on a page.
In case the learner has too many entries, the learner may use the Search option on the right side.
There are mainly four Actions you can take for a Learning Path.
1)Overview
Use the eye icon to get the Overview of LP, the number of Courses in the LP, and the Users and Cohorts information in the LP.
Overview of the LP
Here is all the information regarding the LP like Start Date, End Date, number of Users and Cohorts, Number of Courses, and the number of Mandatory Courses.
Courses in the LP
Here all the Courses in the LP are shown.
Select the Gear icon on the right side of the page for some settings regarding the courses. You can choose which courses are Required for Completion. You can choose which Courses to lock or not. You can also arrange the Courses in whichever order is the best for you. Click Save to save the changes made successfully, if any made. 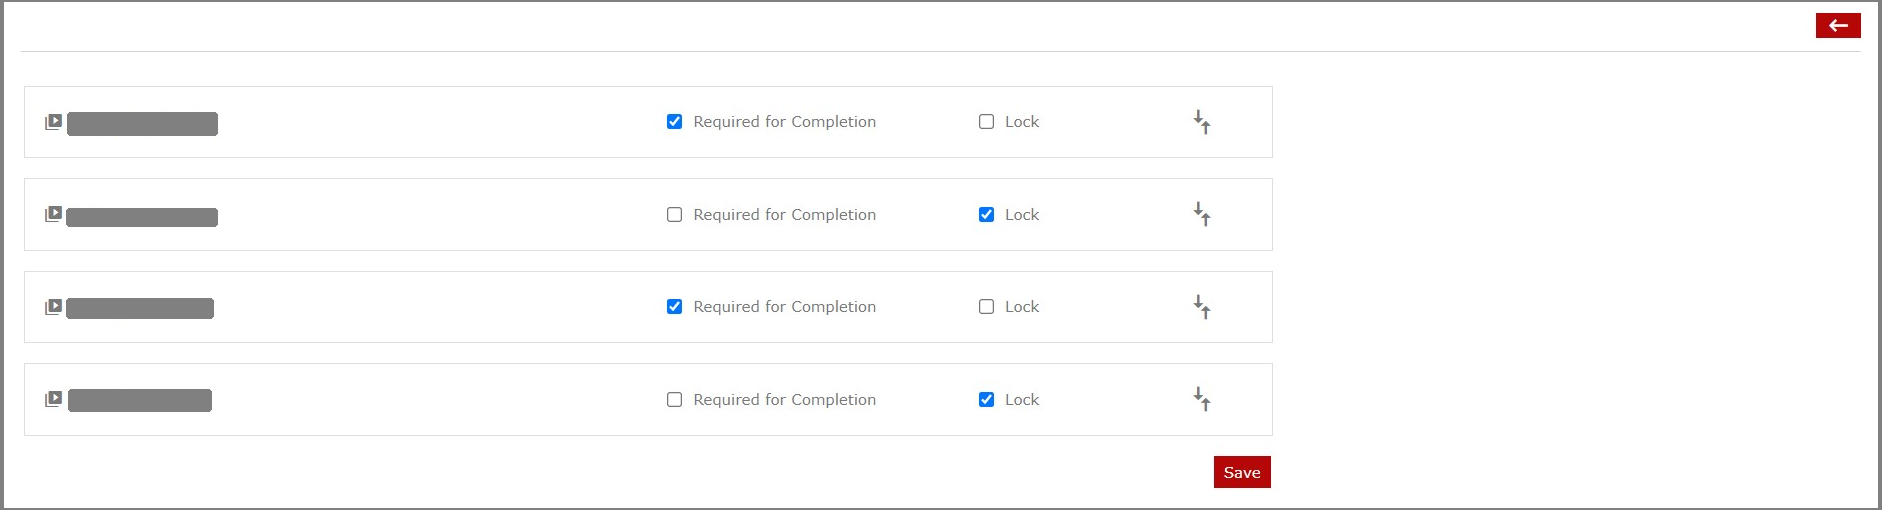
Select Manage Course on the right side of the screen to select which courses are to be displayed in the LP and which are not to be displayed on the LP. Click Save to save the changes made successfully.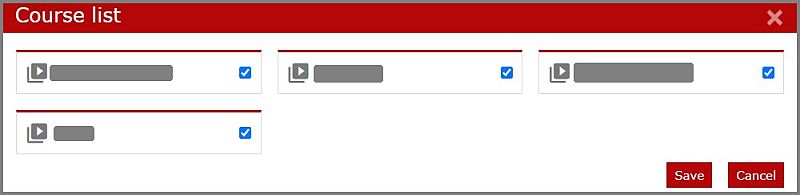
To revoke all Certifications/Completions previously obtained select Regrade on the right side of the screen.
Manage Users
On the top left side, the learner can choose how many Entries he wants to see on a page.
In case the learner has too many entries, the learner may use the Search option on the right side.
Click Manage User on the right side of the screen to transfer Enrolled Users to Unenrolled Users or vice versa. Select the Category of Users you want to see. Click Save to save the changes made successfully.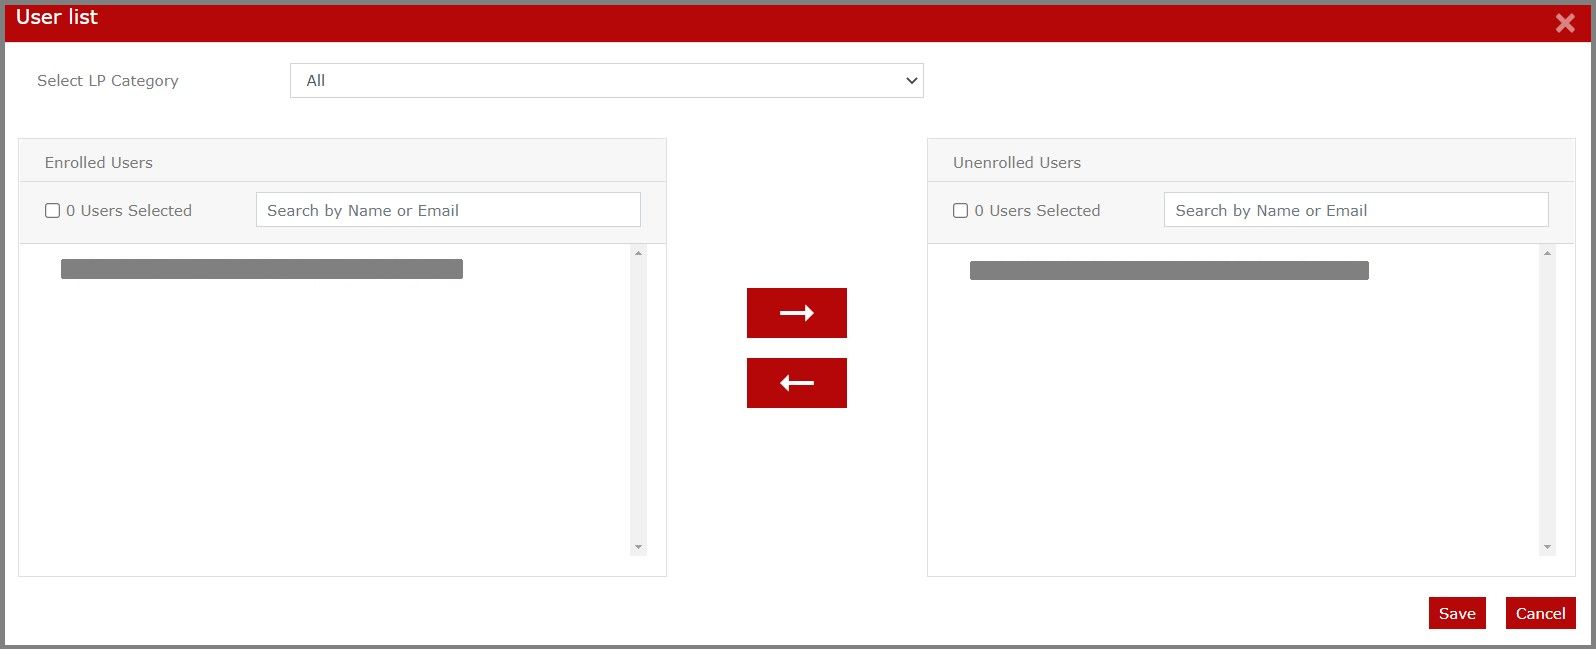
Manage Cohorts
On the top left side, the learner can choose how many Entries he wants to see on a page.
In case the learner has too many entries, the learner may use the Search option on the right side.
Select the people icon to get the list of people in the cohort. Click Manage Cohort on the right side of the screen to get a Cohort list. Select the Cohorts and Click Save to save the changes made successfully.
2)Edit
Use the pencil icon to edit the information given on a Learning Path. For more details for updating the Learning path check the How to create a New Path? article mentioned above on this page.
3)Delete
Use the trash icon to delete a Learning Path. You will no longer be able to edit or modify it in case you delete it.
4) Edit Certificate
Certificate Configuration
Select or clear the checkbox depending on whether you want to Enable the Certificate for this Learning Path.
Then, Pick from the Templates in the dropdown list.
Select an Expiry date for the Learning Path Certificate.
select or clear the checkbox depending on whether you want to Show this certificate as an Accomplishment or not.
NOTE: Accomplishments are seen on the dashboard if the admin has enabled them in the Widgets.
Select or clear the checkbox depending on whether you want to add this certificate to the contact page of the salesforce.
Badge Configuration
Select Yes if you want to Enable this as a Course Badge.
Choose a File to be displayed as the Course Logo.
Select Yes if you want the Course Logo Visible for the User.
Credential Verification and Page Configuration
Select Yes if you want to Enable LinkedIn certificate sharing.
Enter your desired Certification Title.
Enter your desired Certification Description.
Enter the