Tech tutorials, Reviews, How To's
Connected App Configuration
Creating a Connected App
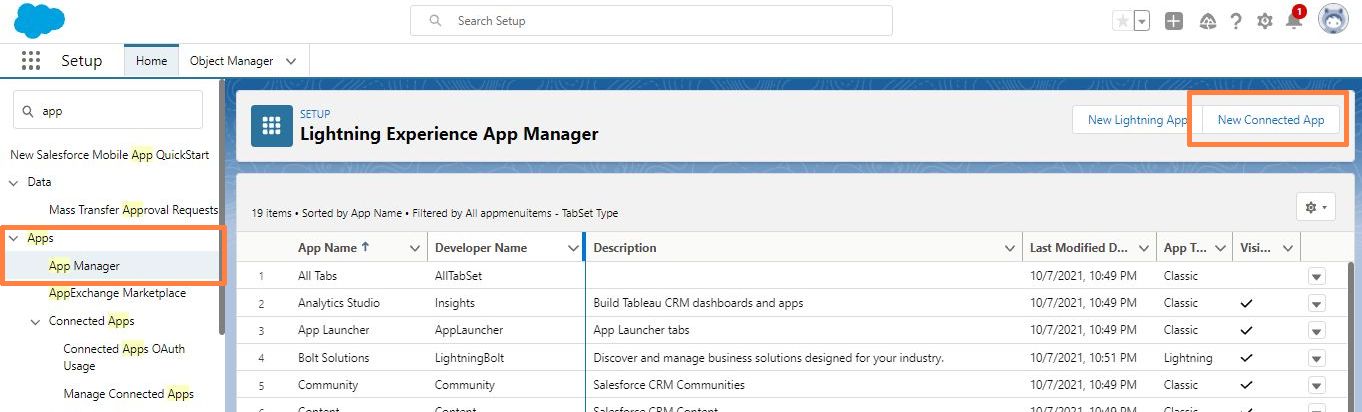
After the App is installed, the next step is to Create a new Connected App. For this, go to Setup and search for App Manager.
Open App Manager and click New Connected App
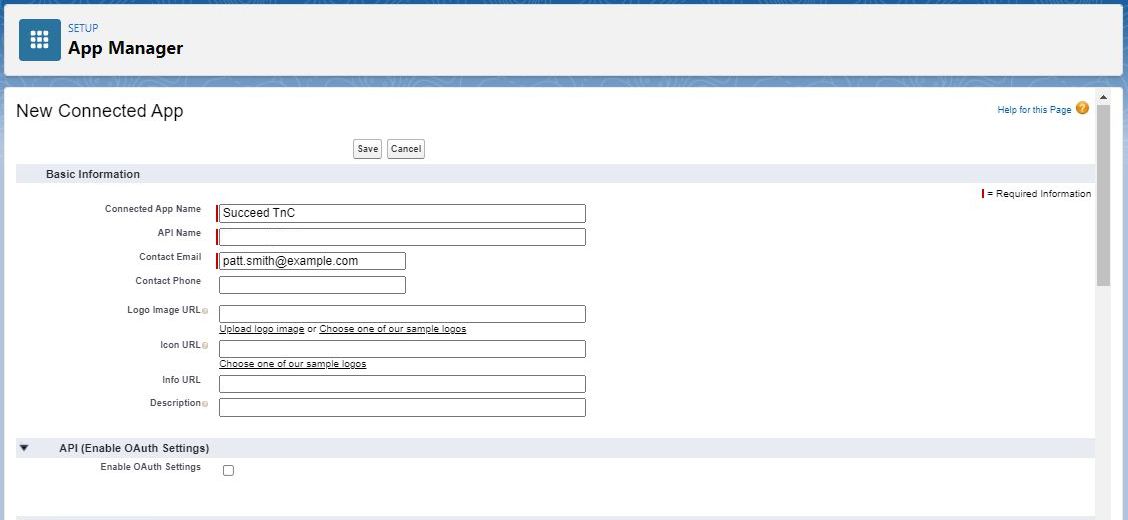
In the new Connected App screen, Enter App Name as Succeed_TnC and API as “App_For_Webservice“. You can enter the contact details of the App Admin and select a Logo from Sample logos. We reccomend these two options.
Logo: “https://login.salesforce.com/logos/Custom/Trophy_Primary/logo.png”
Icon: “https://login.salesforce.com/logos/Custom/Trophy_Primary/icon.svg”
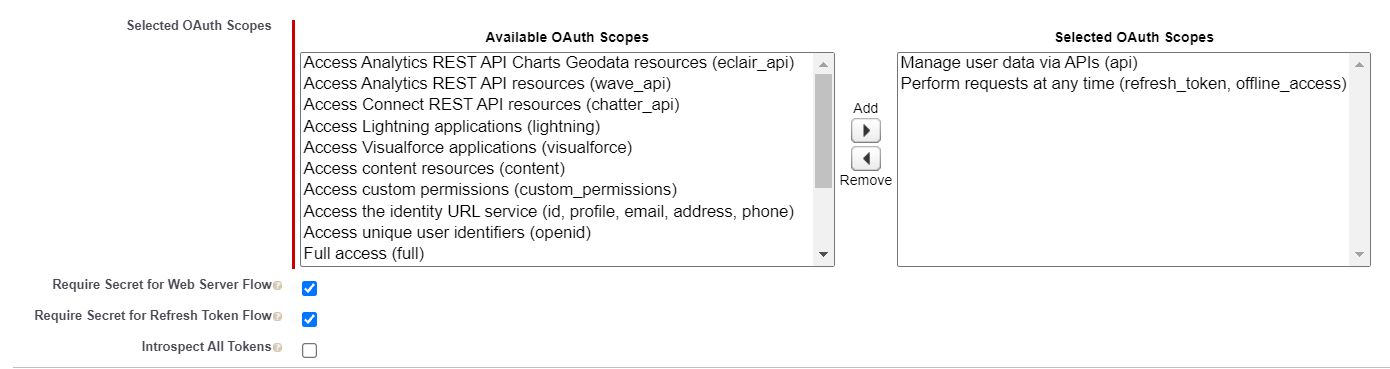
Under API section, select “Enable OAuth Settings”
Enter a call back URL. While this field is mandatory on Salesforce, you can enter your application’s call back URL.

Under Selected OAuth Scopes, Add “Manage user data via APIs(api)” and “Perform requests at any time (refresh_token, offline_access)” to the right side. Ensure that Require Secret for Web Server Flow and Require Secret for Refresh Token Flow are selected.
Click Save and return to the Connect Apps screen.