Search for answers or browse our knowledge base.
User Management – Bulk – Manual Authentication
Adding the Users – Bulk
Step 1:
On the Dashboard page, select the SS Admin option In the SS Admin, select Users and then select User List
 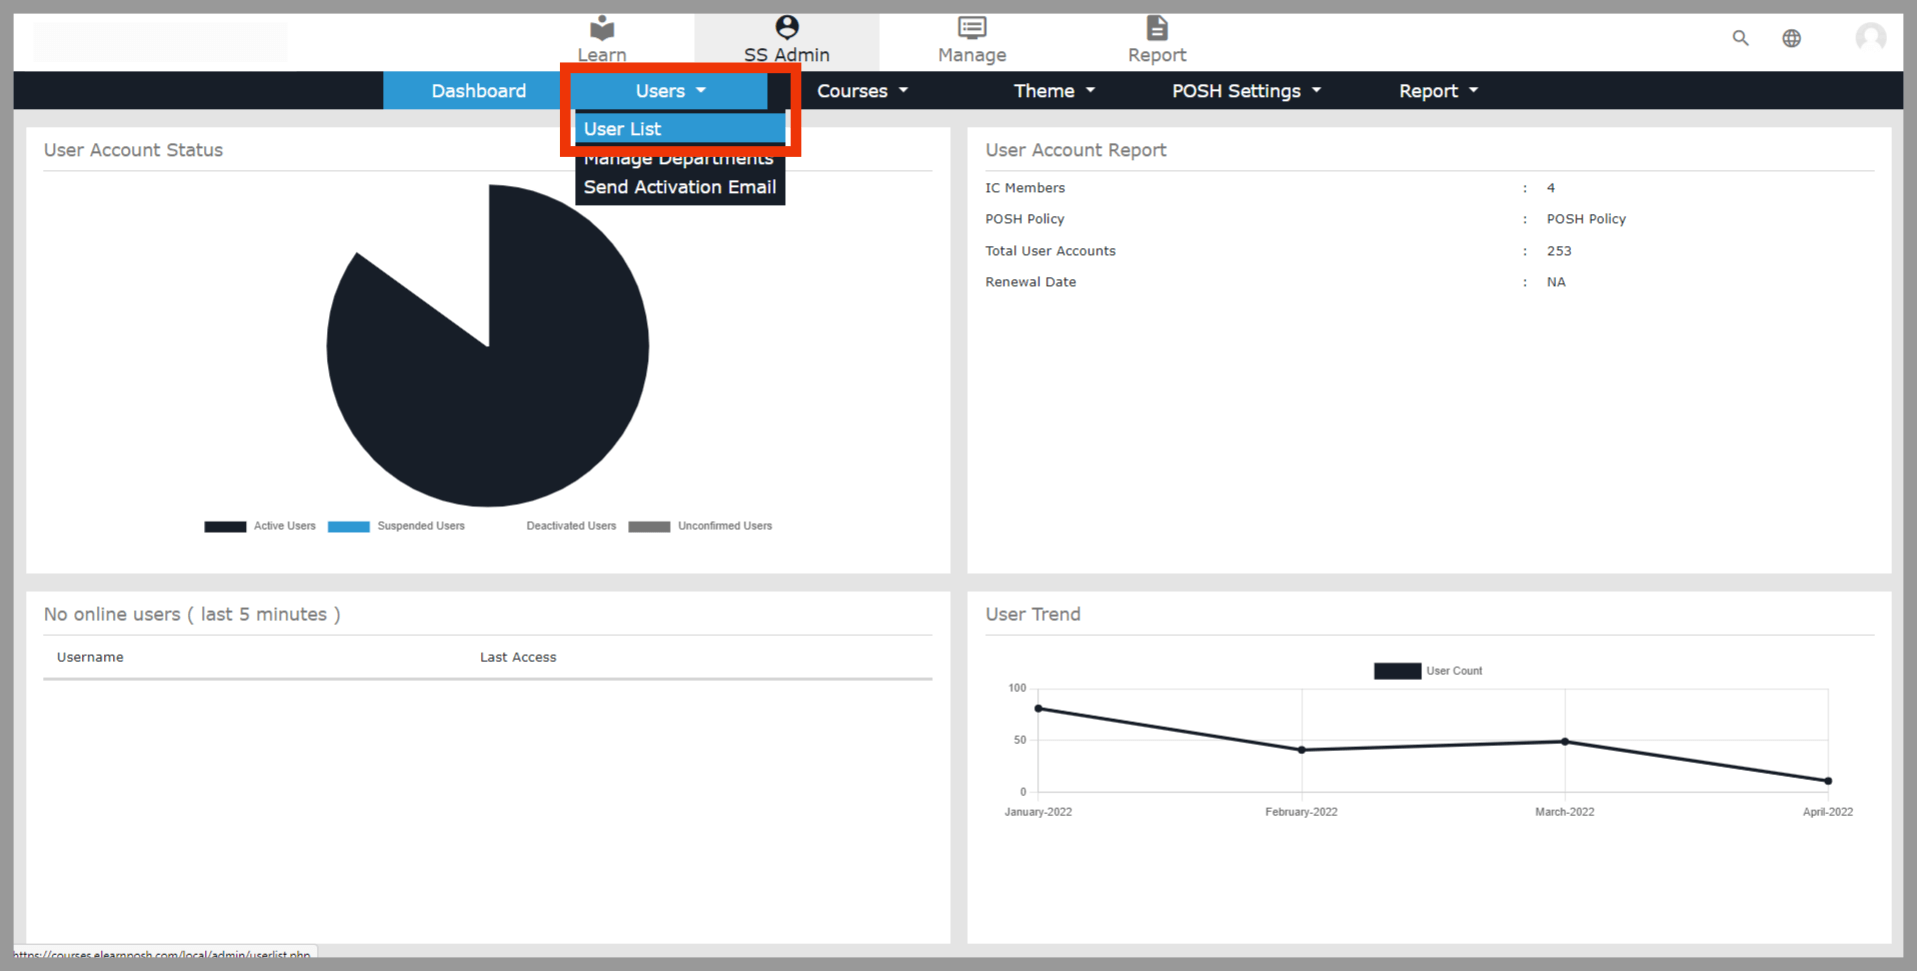 In the User List, click the option Bulk User button on the top right of the page
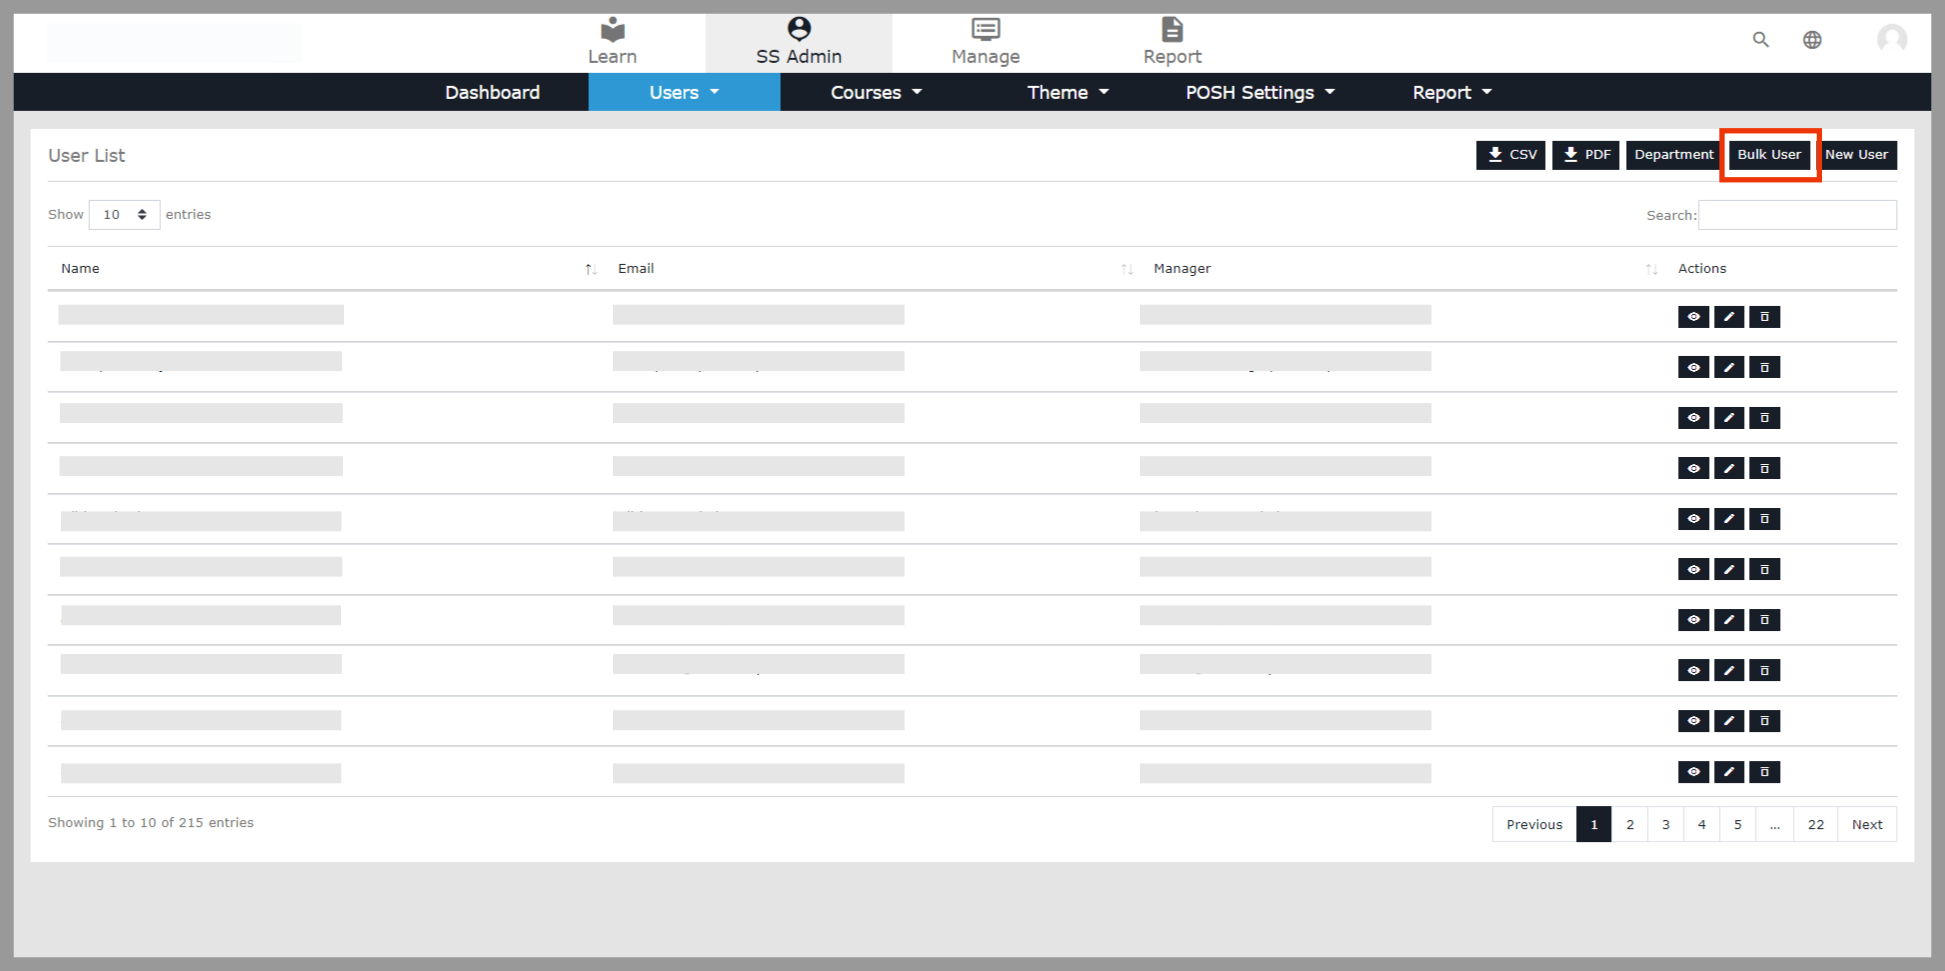
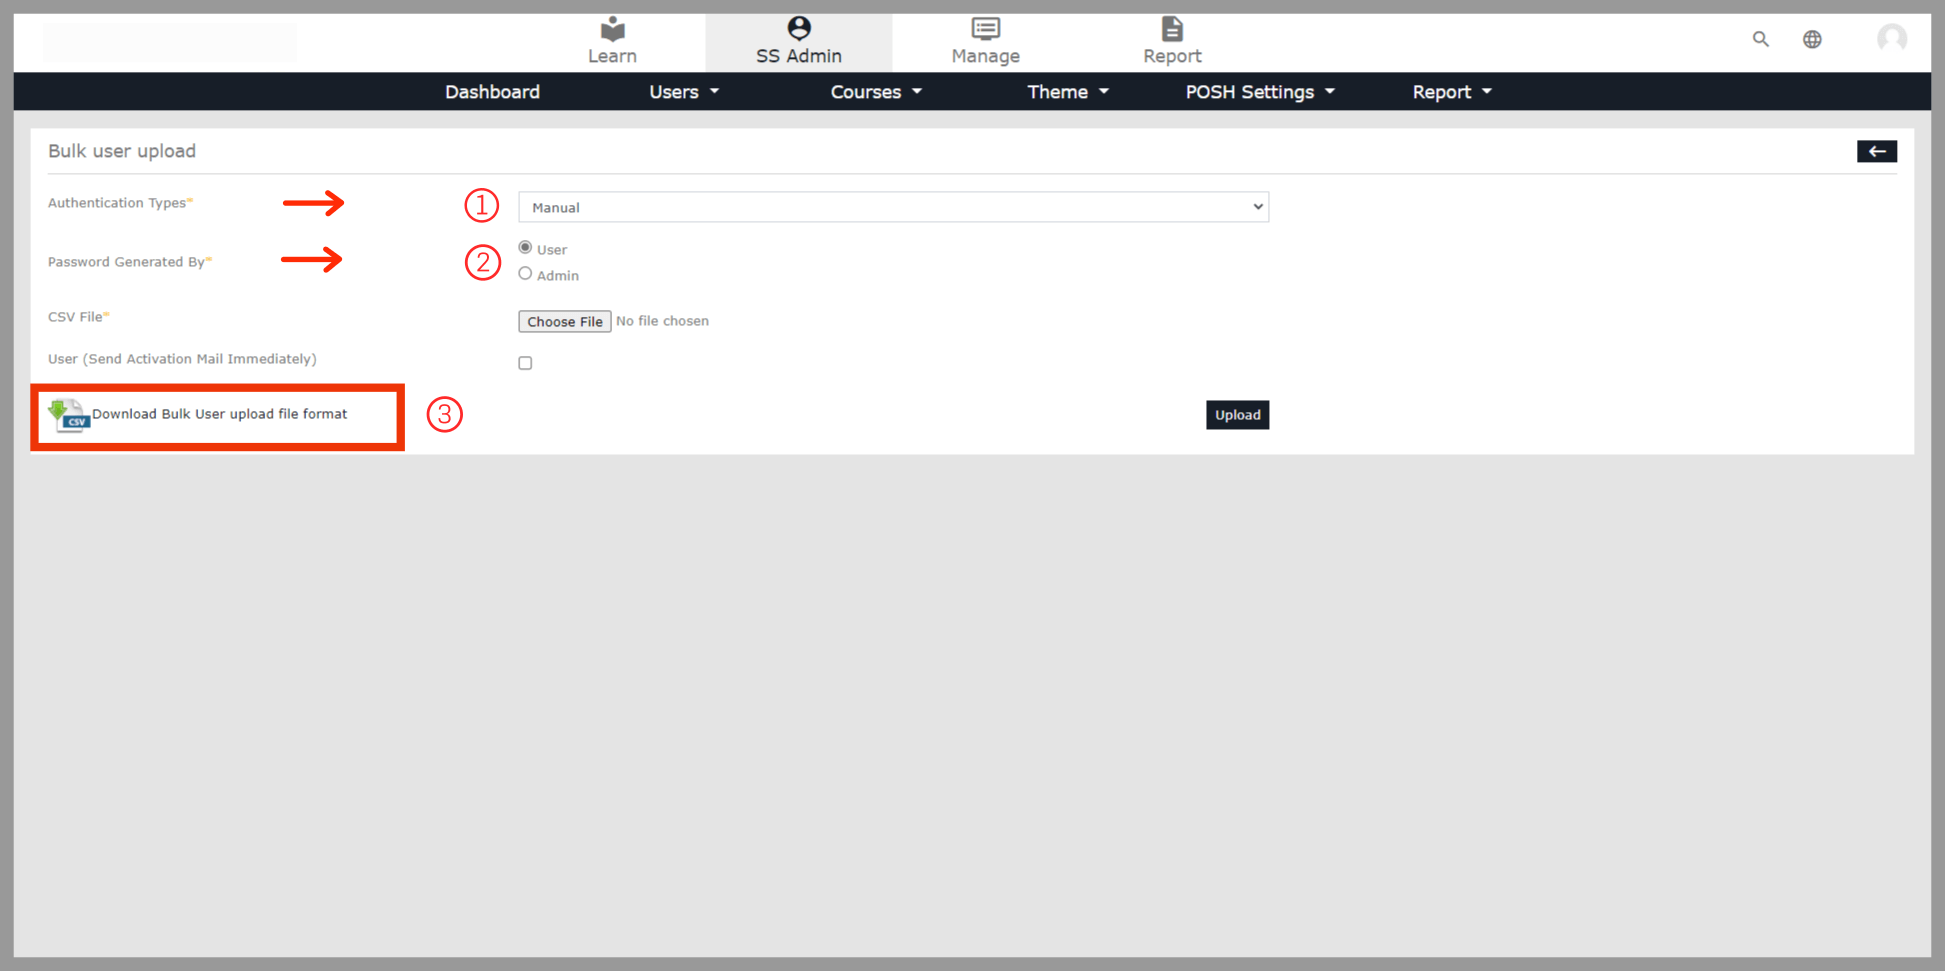
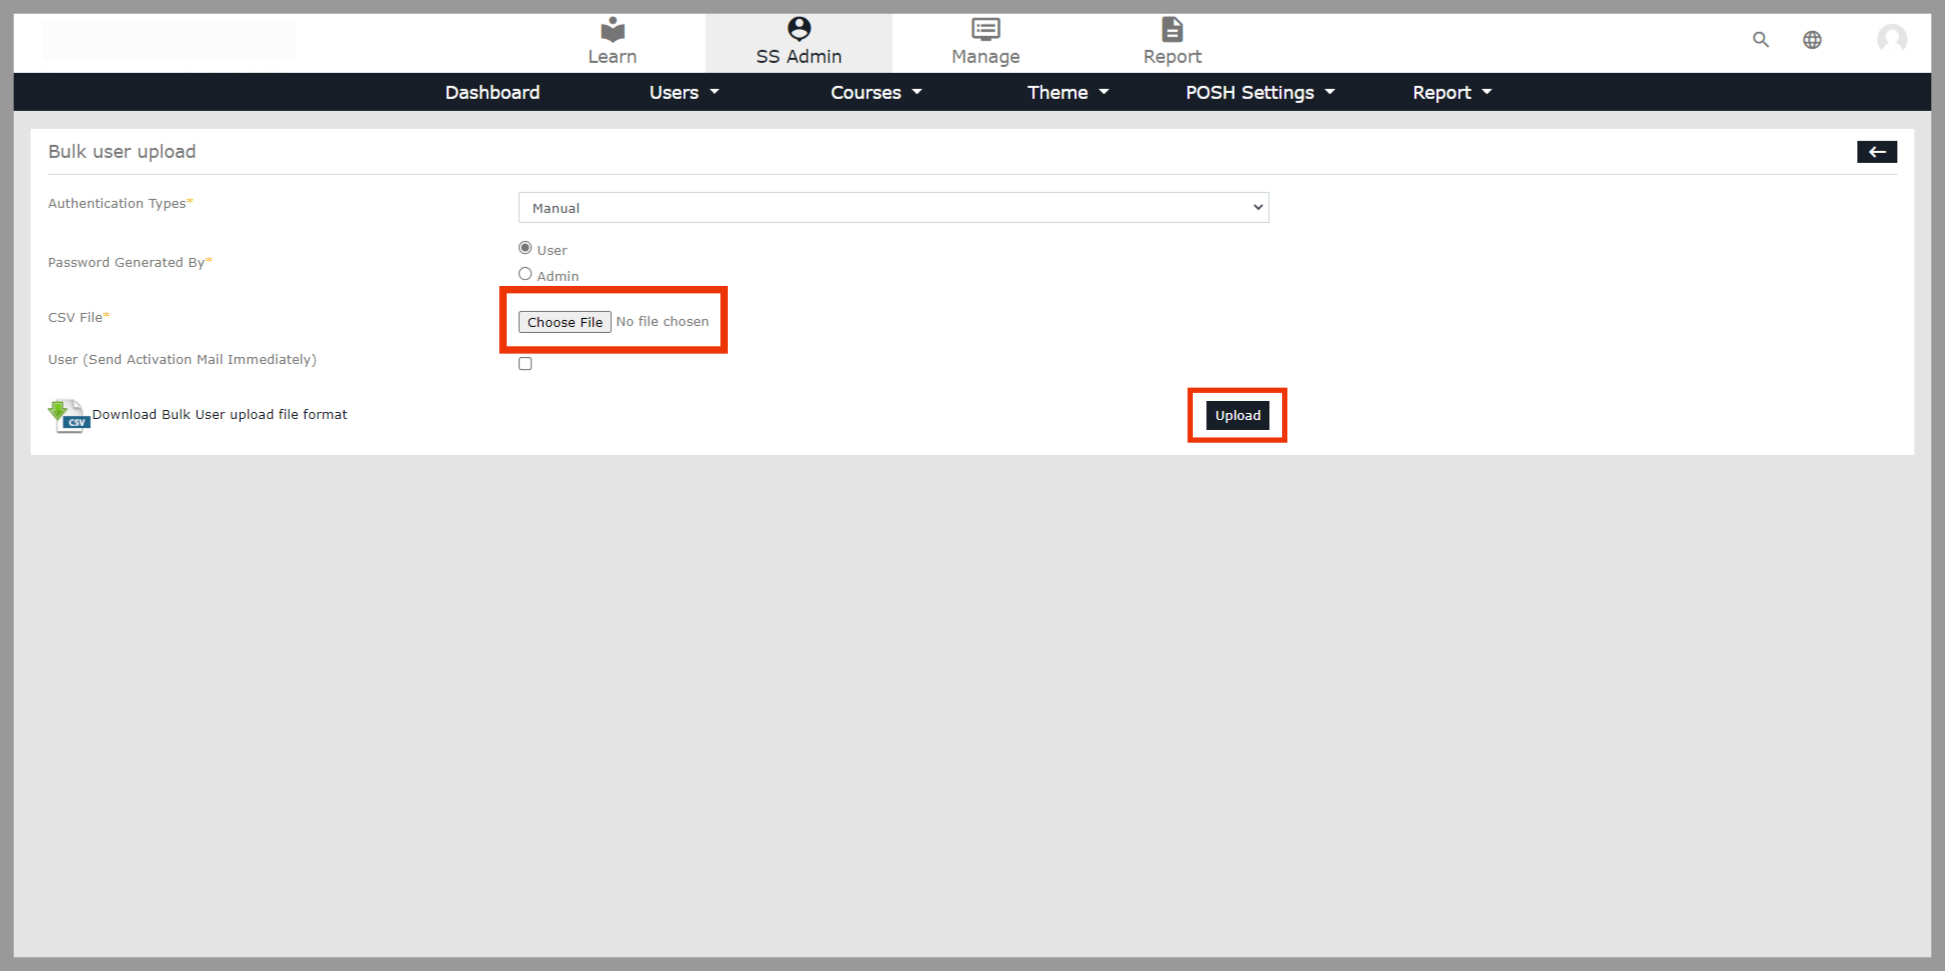
Now do the following:
- Select “Manual” for Authentication.
- Choose “Password Generated by User.”
- Click on “Download Bulk User Upload File Format”.
 Fill in user details (First Name, Last Name, Email, Employee ID, Manager Email, Department, and Designation) in the CSV file you downloaded. Save it as a CSV UTF-8 (comma delimited) format.
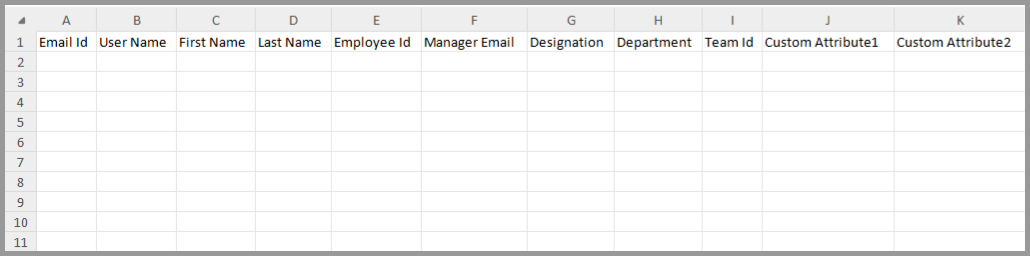
After you’ve finished the previous step, click Choose File, pick the CSV file you saved, and upload it by selecting Upload.
Choose Continue New User Creation at the bottom right of the page only when all users’ statuses show as “Ready to create.” If there are errors, you won’t be able to proceed until you fix them in the Excel sheet, and these errors will be displayed on the right side.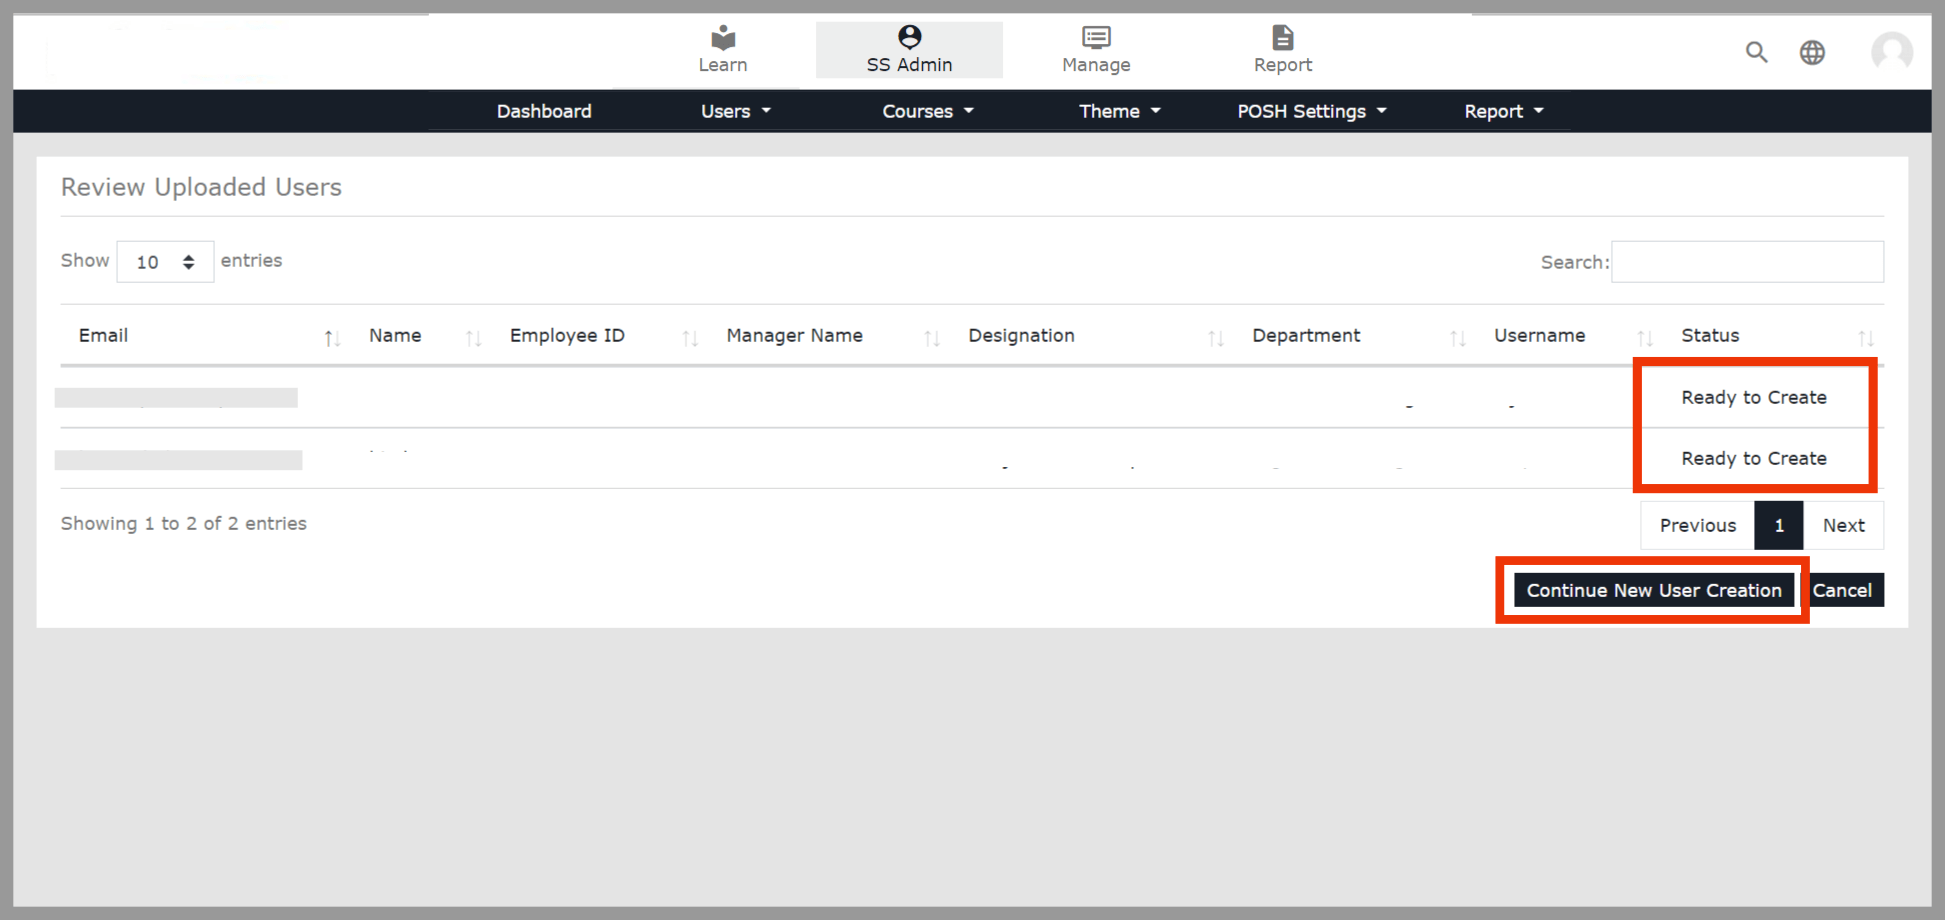
Enroll the user IDs to the course
Step 2:
On the Dashboard page, select the SS Admin option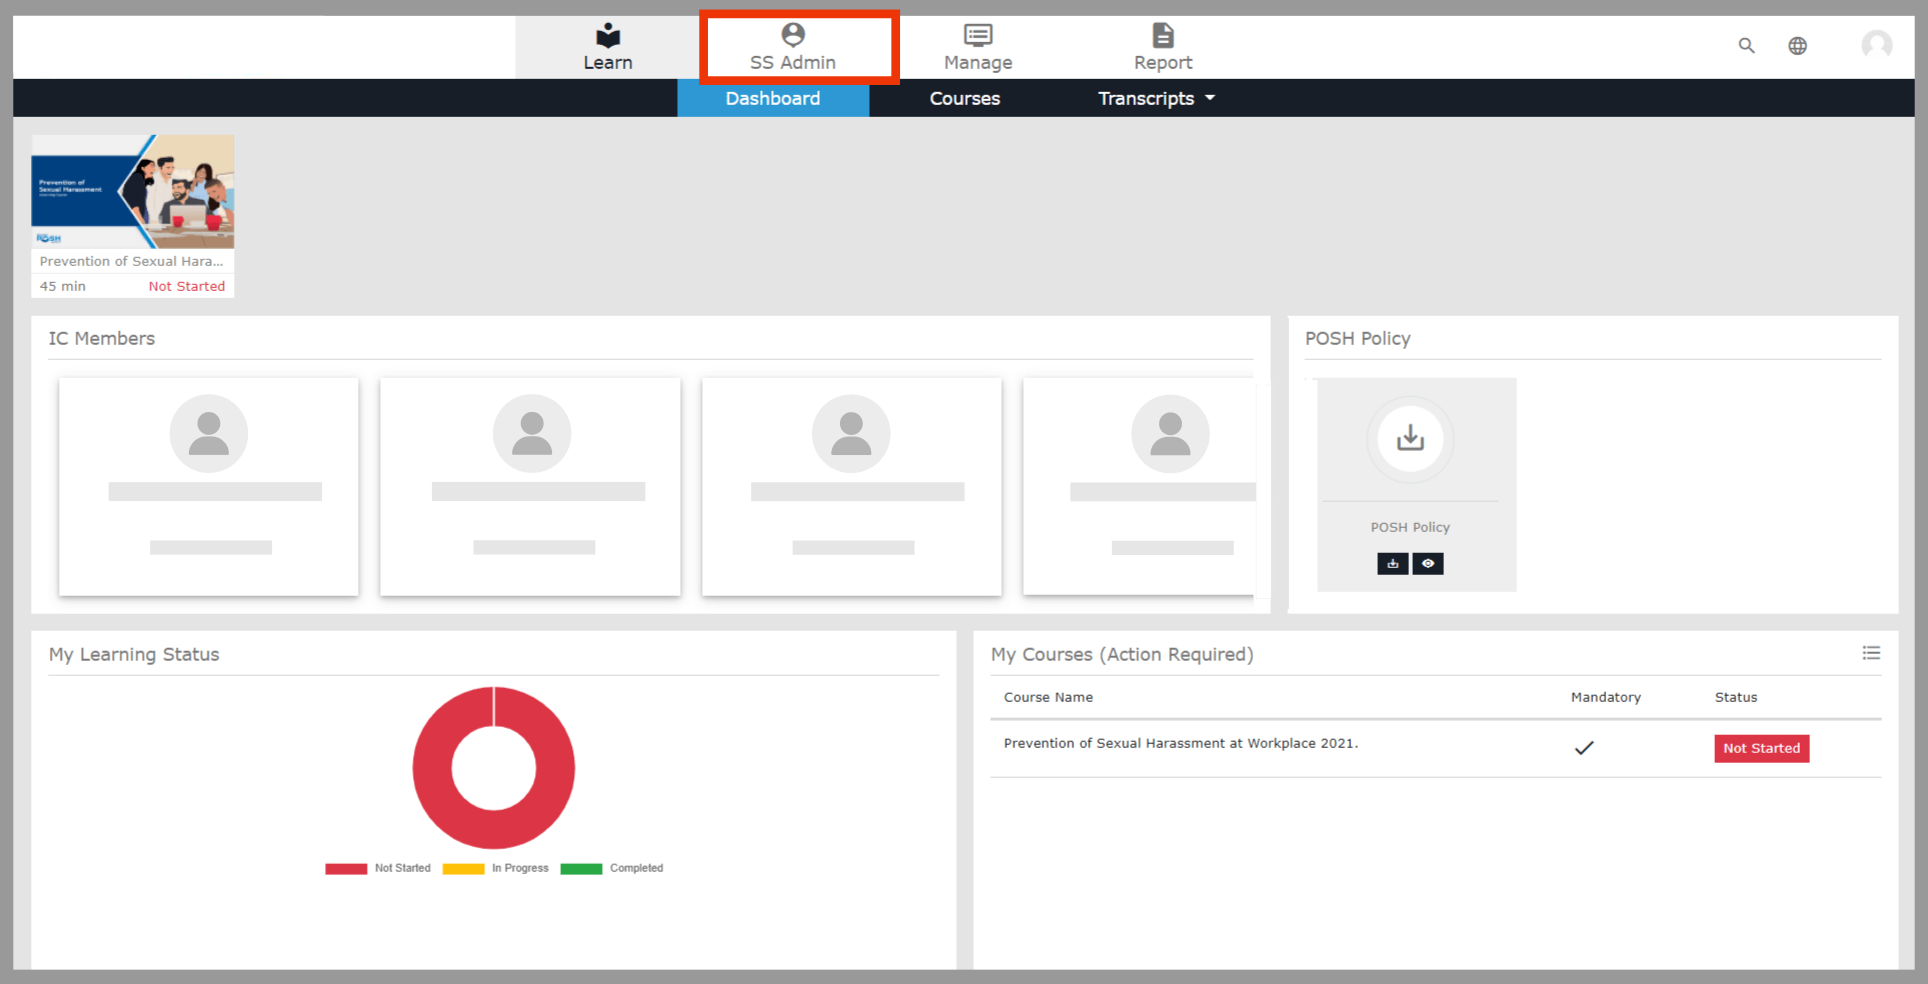 In the SS Admin, select the Courses option and then select Manage Enrollment
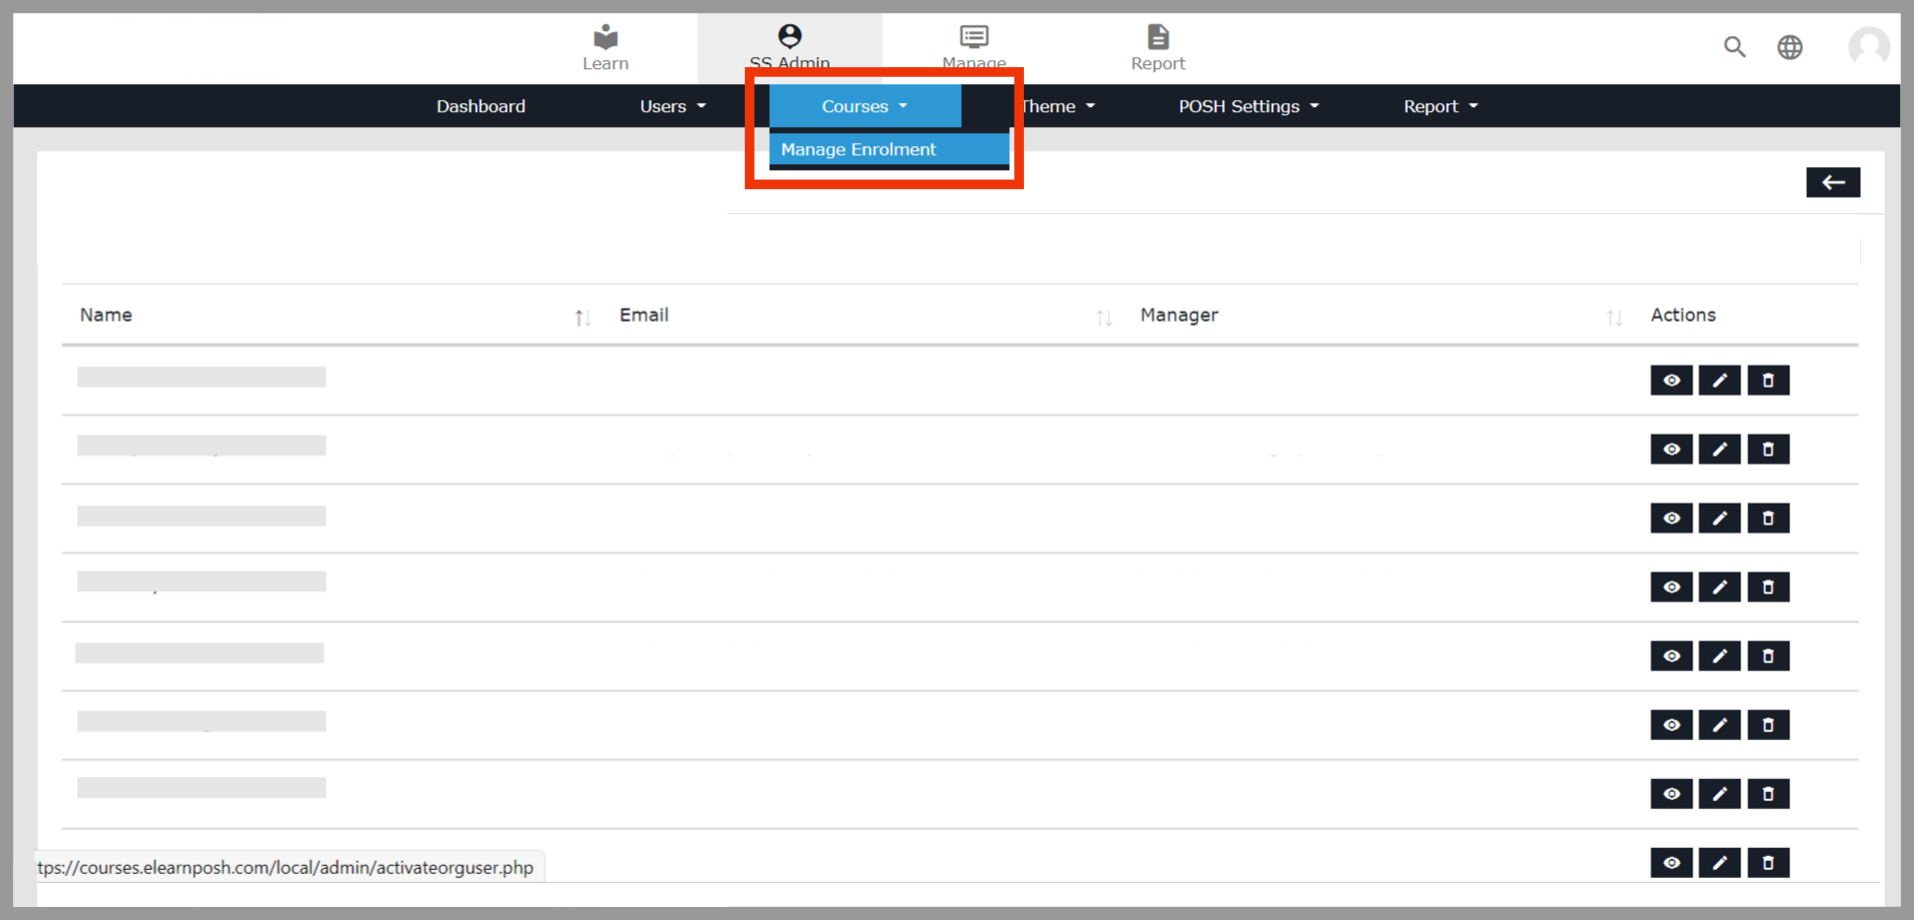 Select the Category
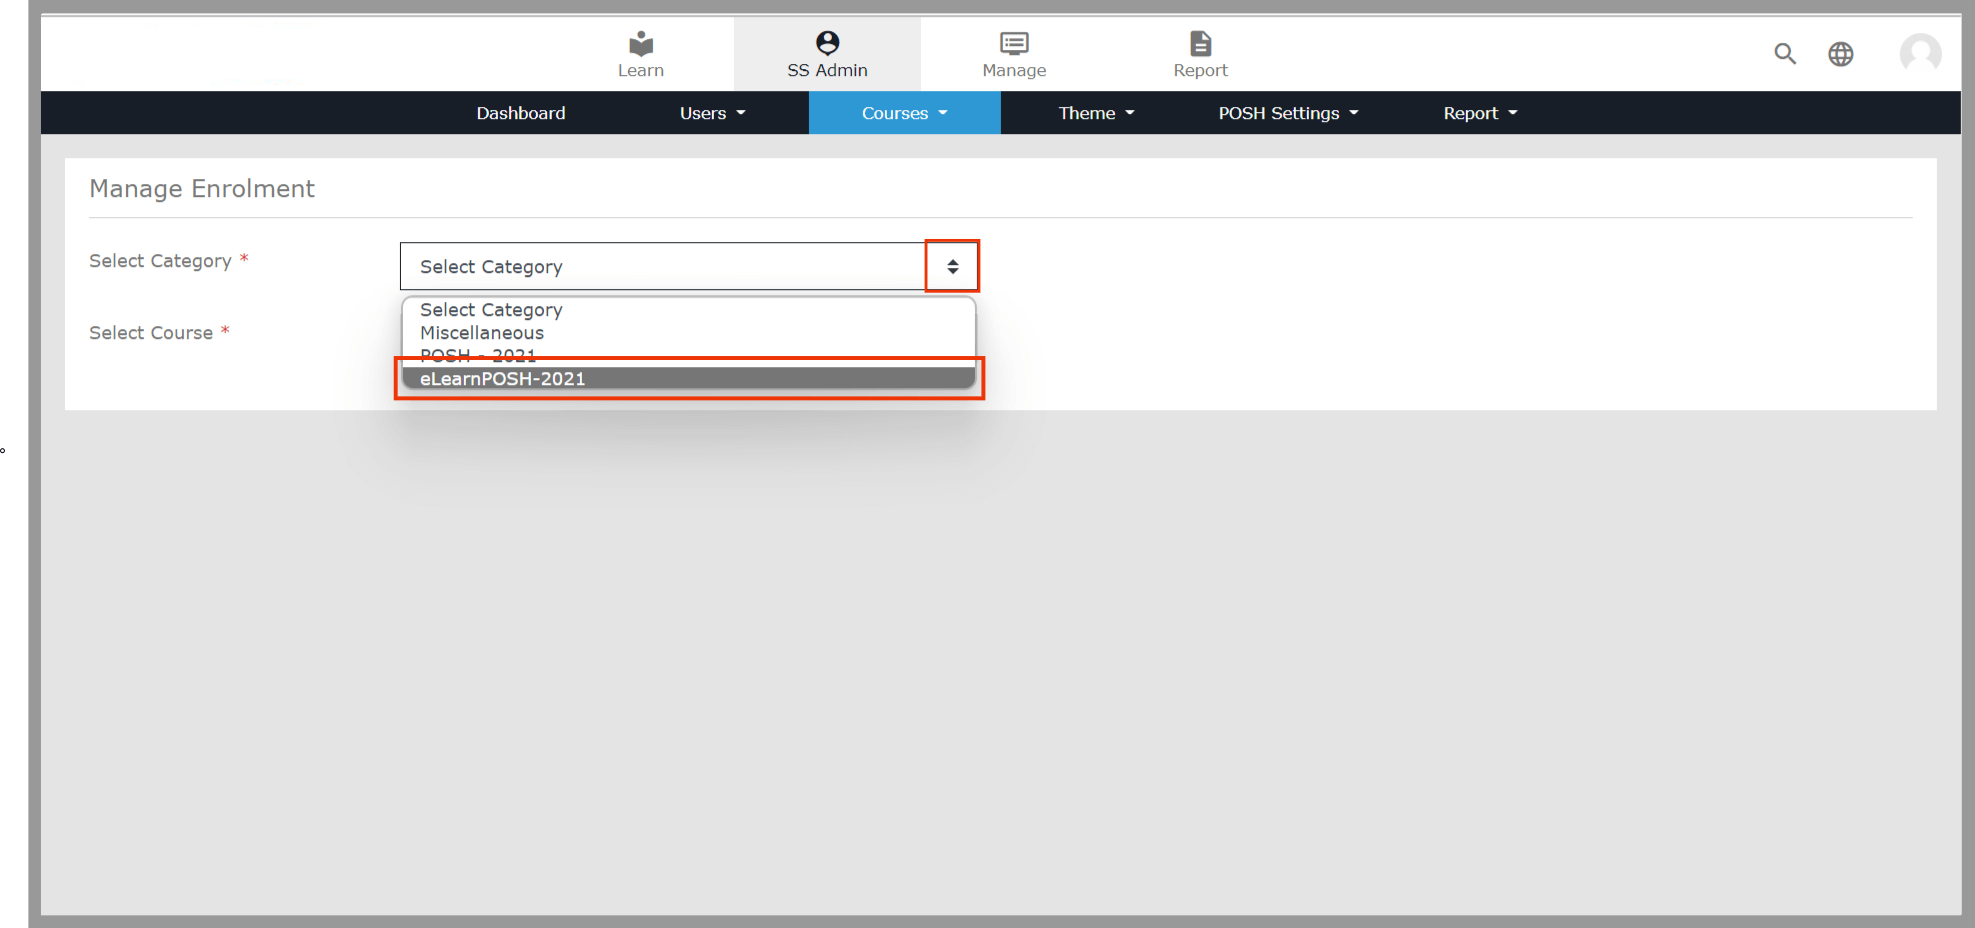
choose your course from Select Course 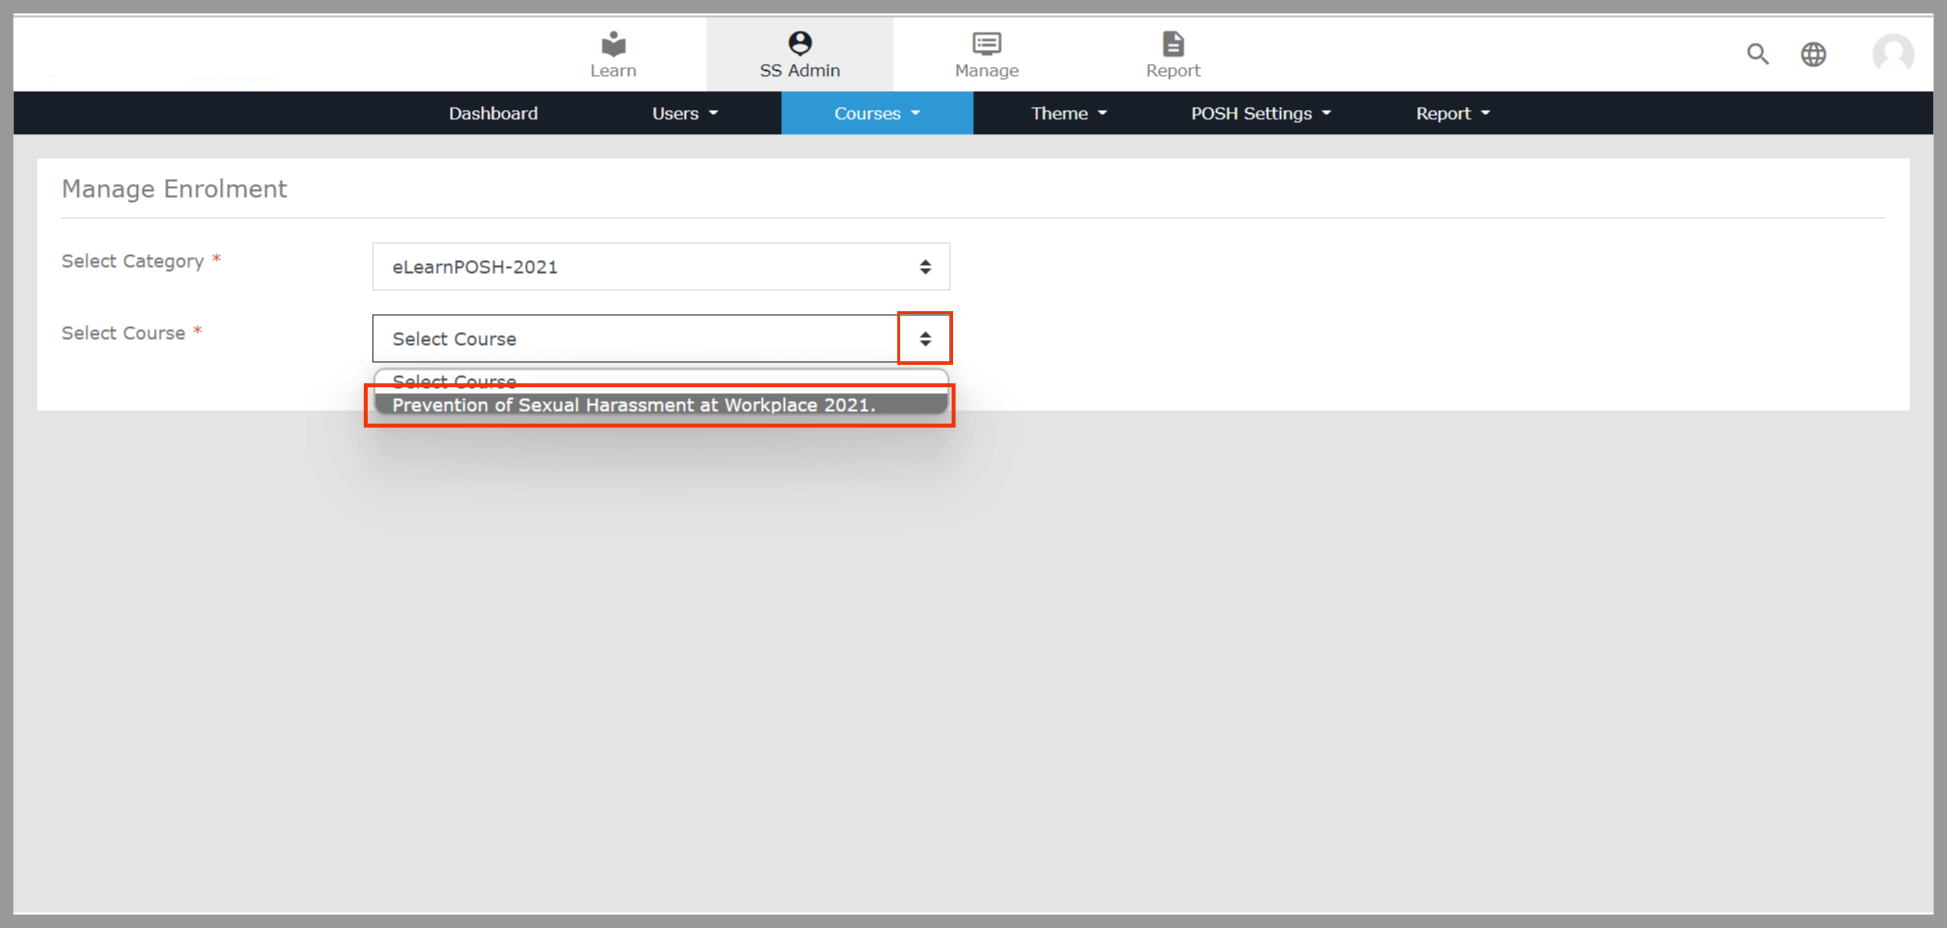 Select the File upload option in the User Category drop down menu. Click the Sample File to download the excel sheet.
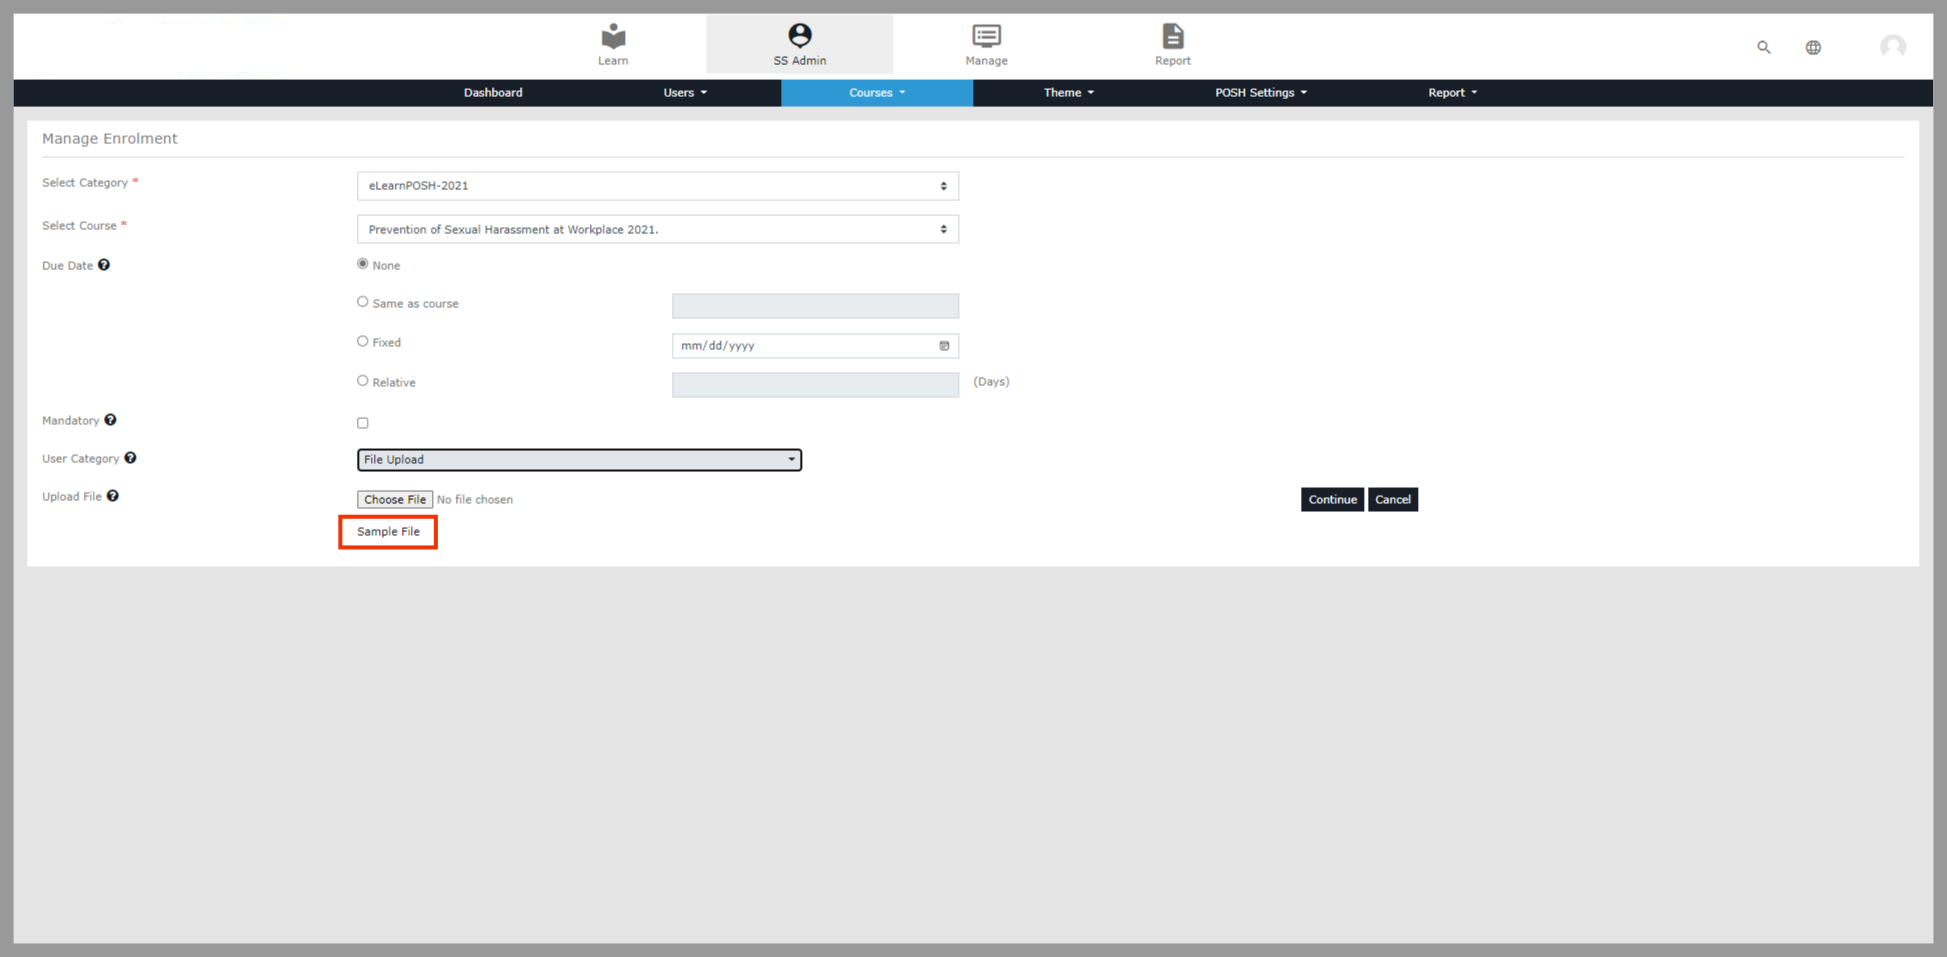 Enter the user email IDs in a list and update the “Status” column to “ENROLL.” Save the file as CSV in UTF-8 (comma delimited) format.
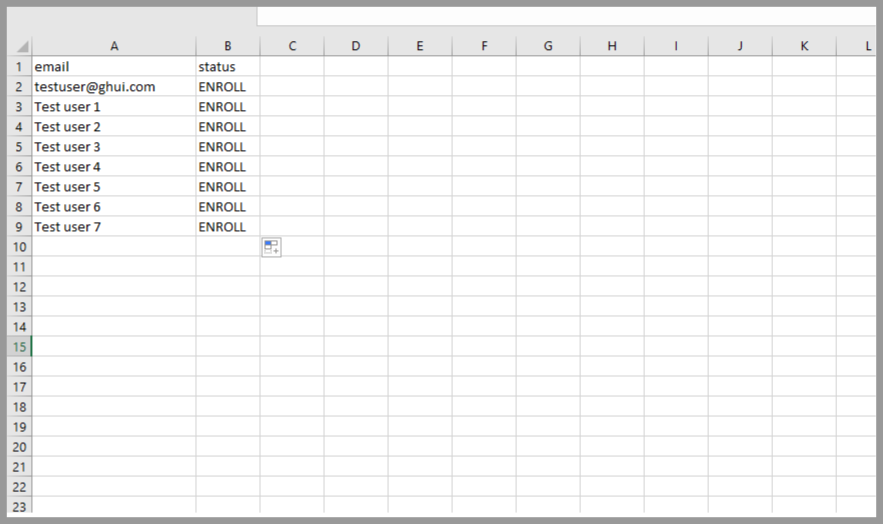 Now click on Choose File and select the saved excel sheet and upload it. Then Select Continue
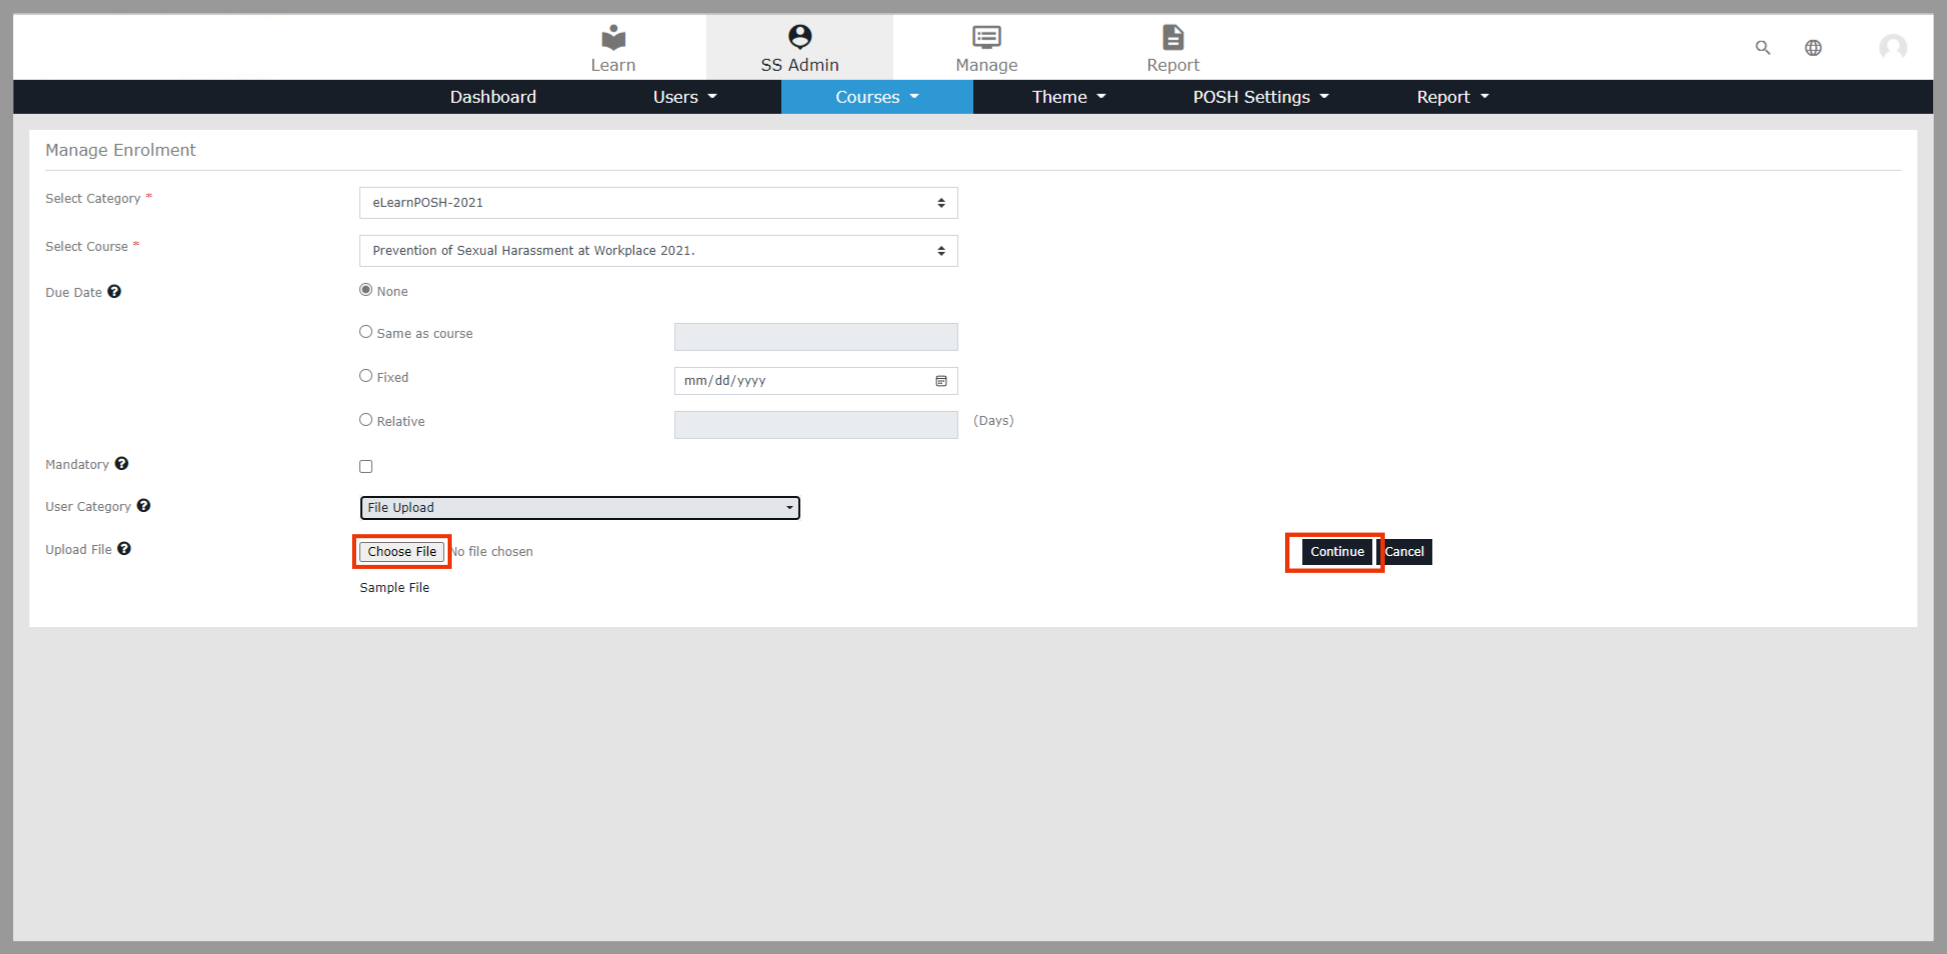 Click the “Continue” button, only when the Status of all the users is showing as Enroll.
Note: If you find any errors, cancel the upload, correct the required details on the sheet and upload the sheet again.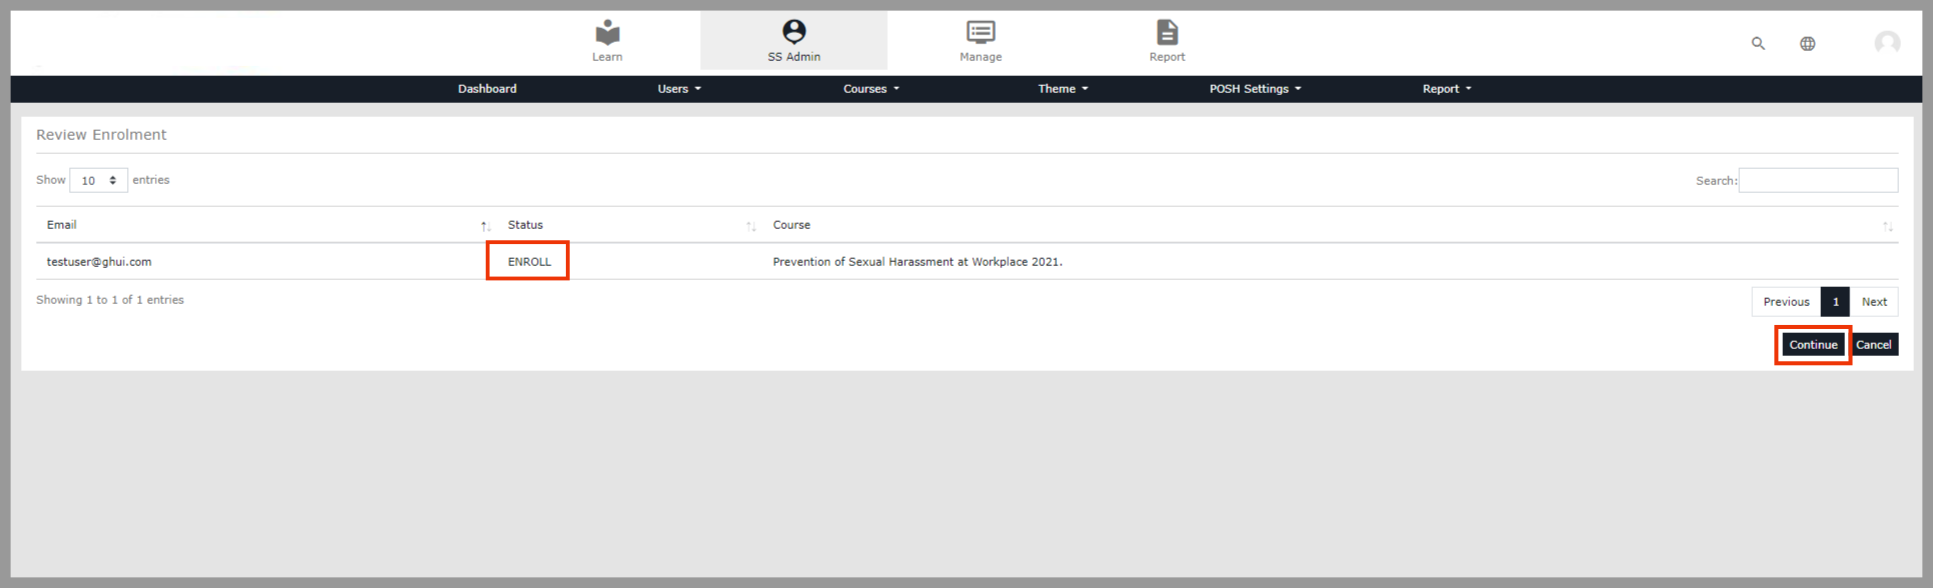 If the Status of any user IDs are showing as Already Enrolled, click on the “Continue with rest” option
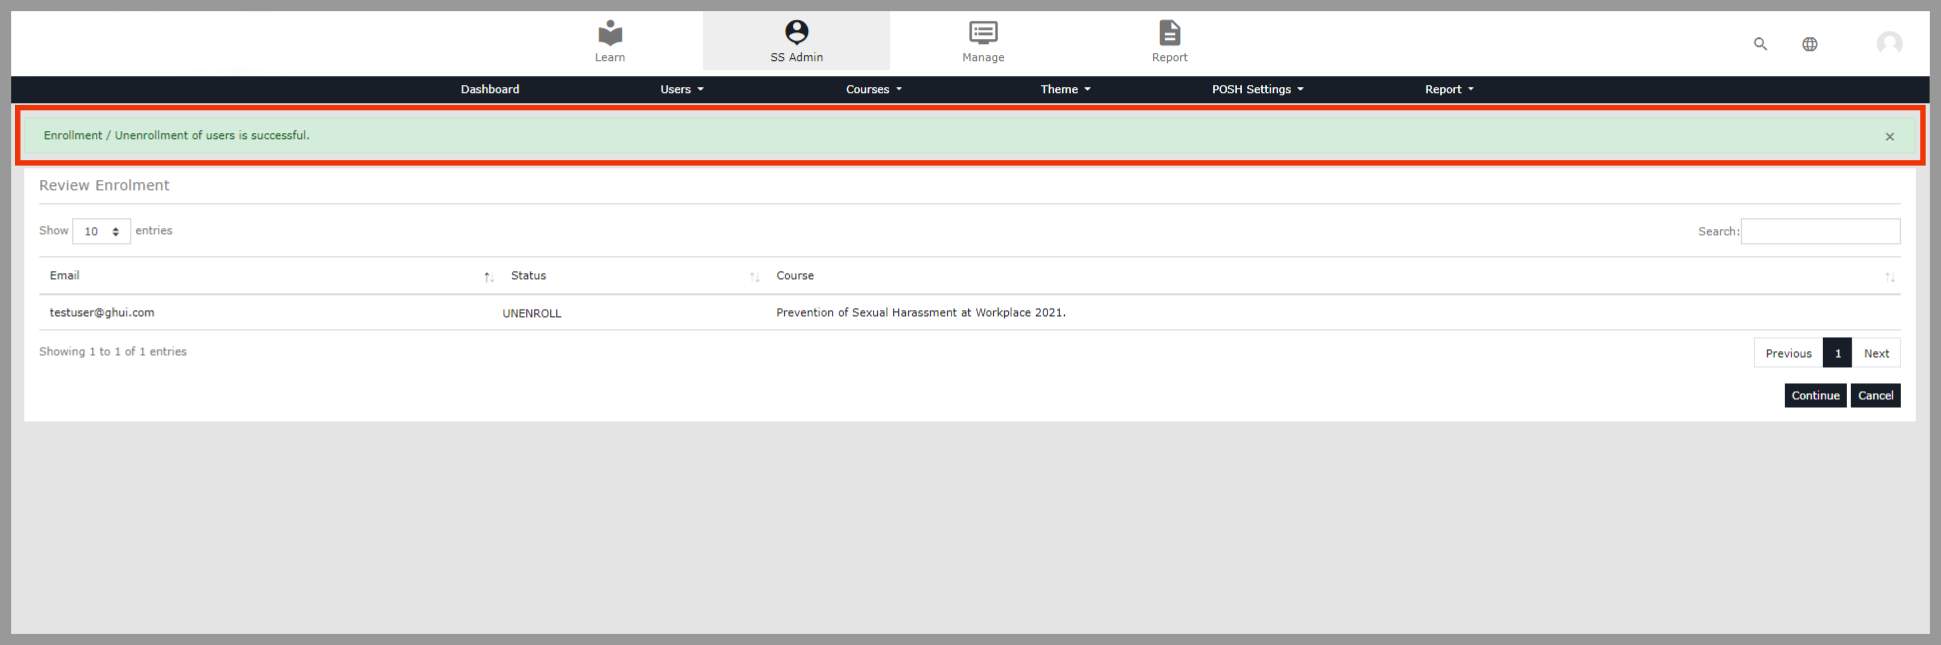
Sending Activation Mails
Step 3:
On the Dashboard page, select the SS Admin option In the SS Admin, select Users button and then select Send Activation Mail
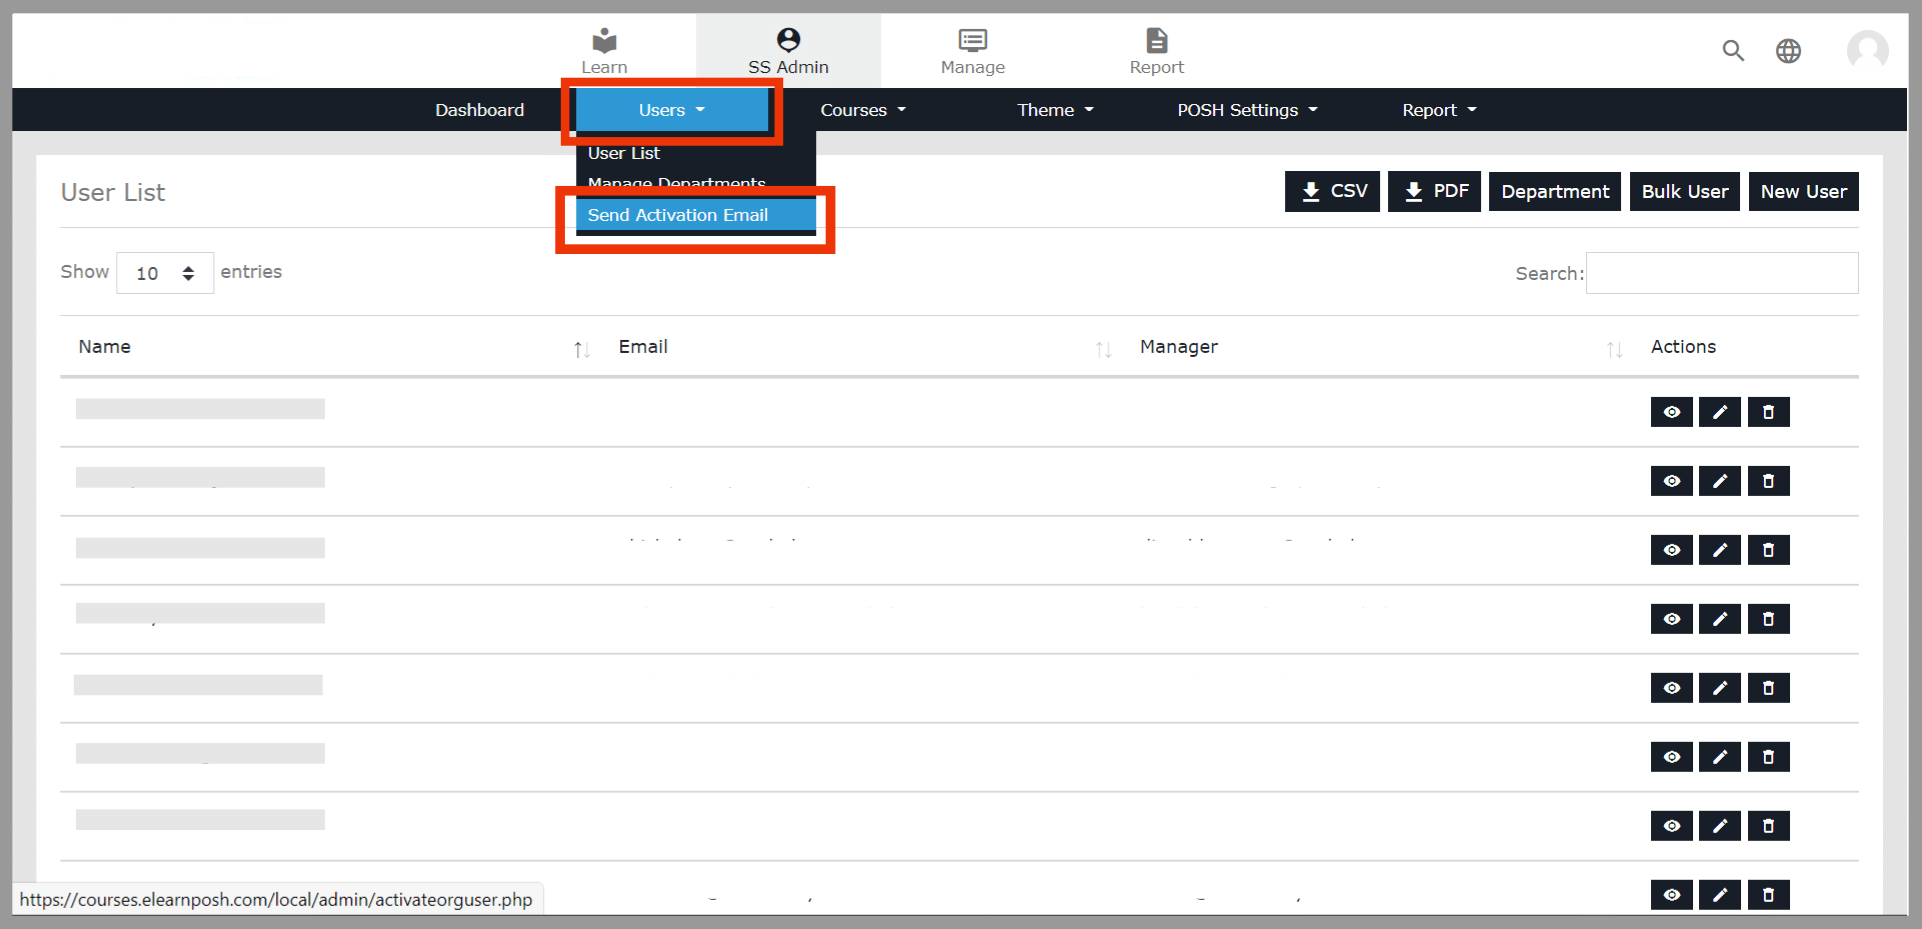 Select Bulk user Upload
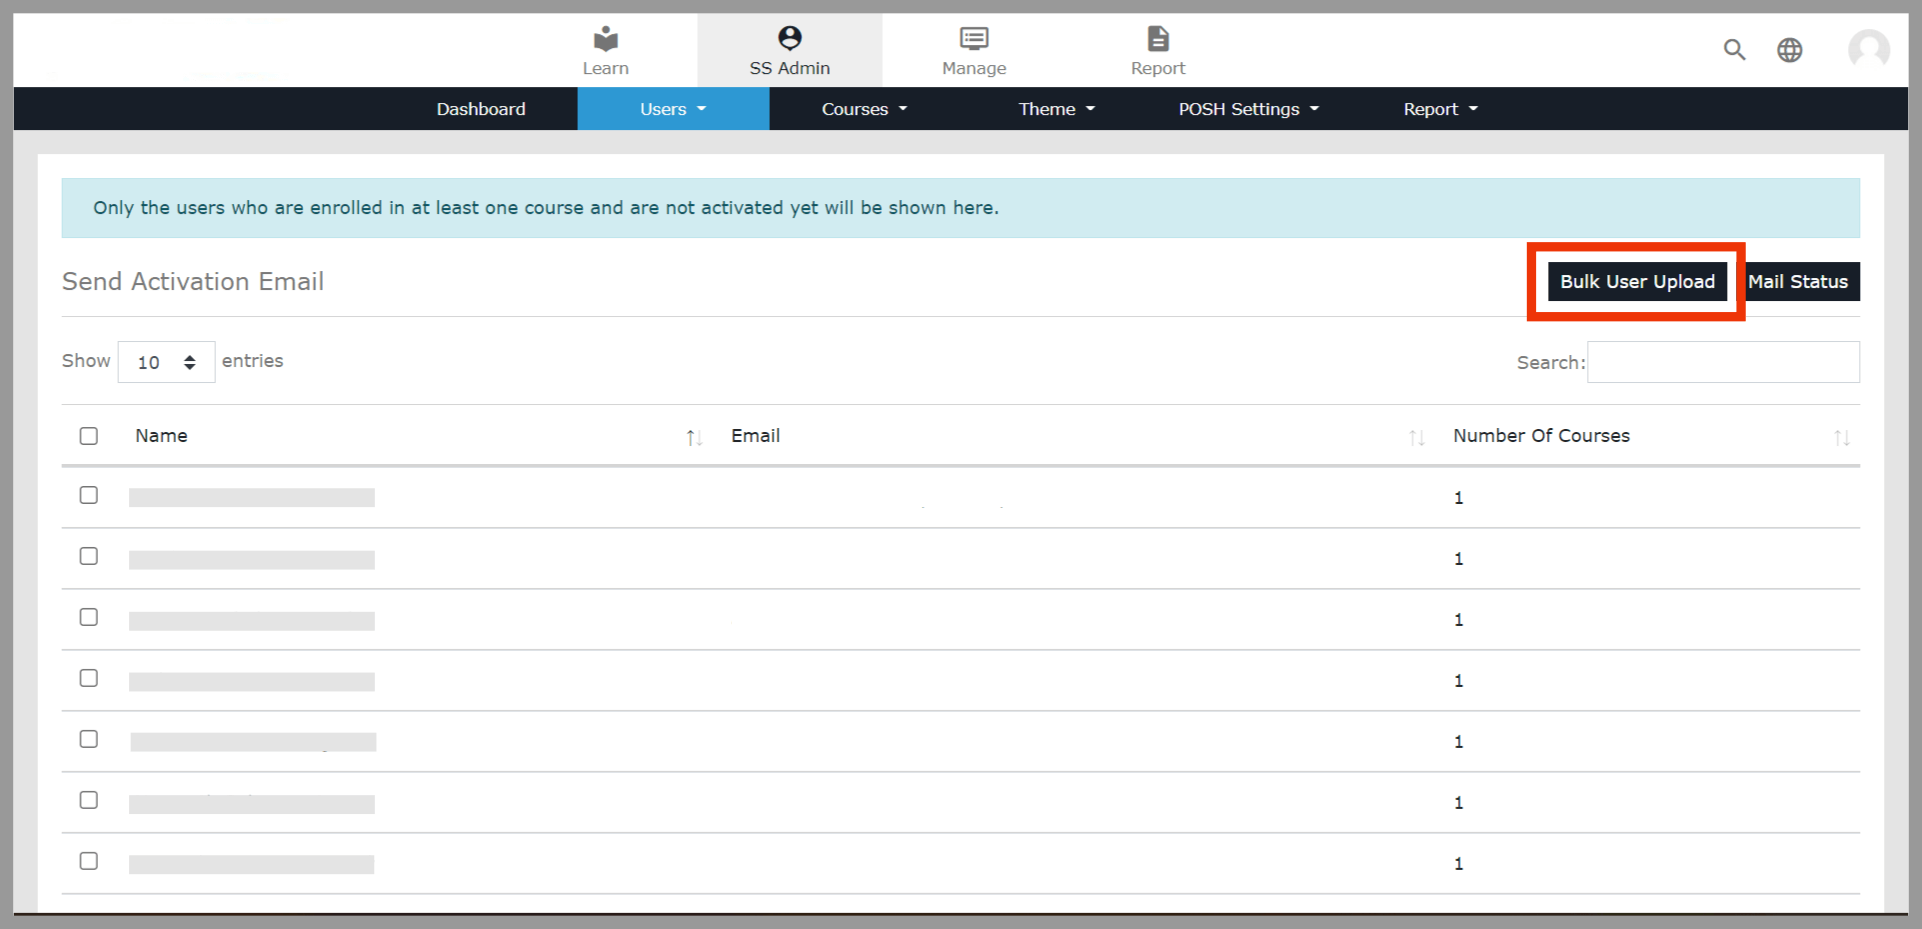 Download the sample Bulk upload file
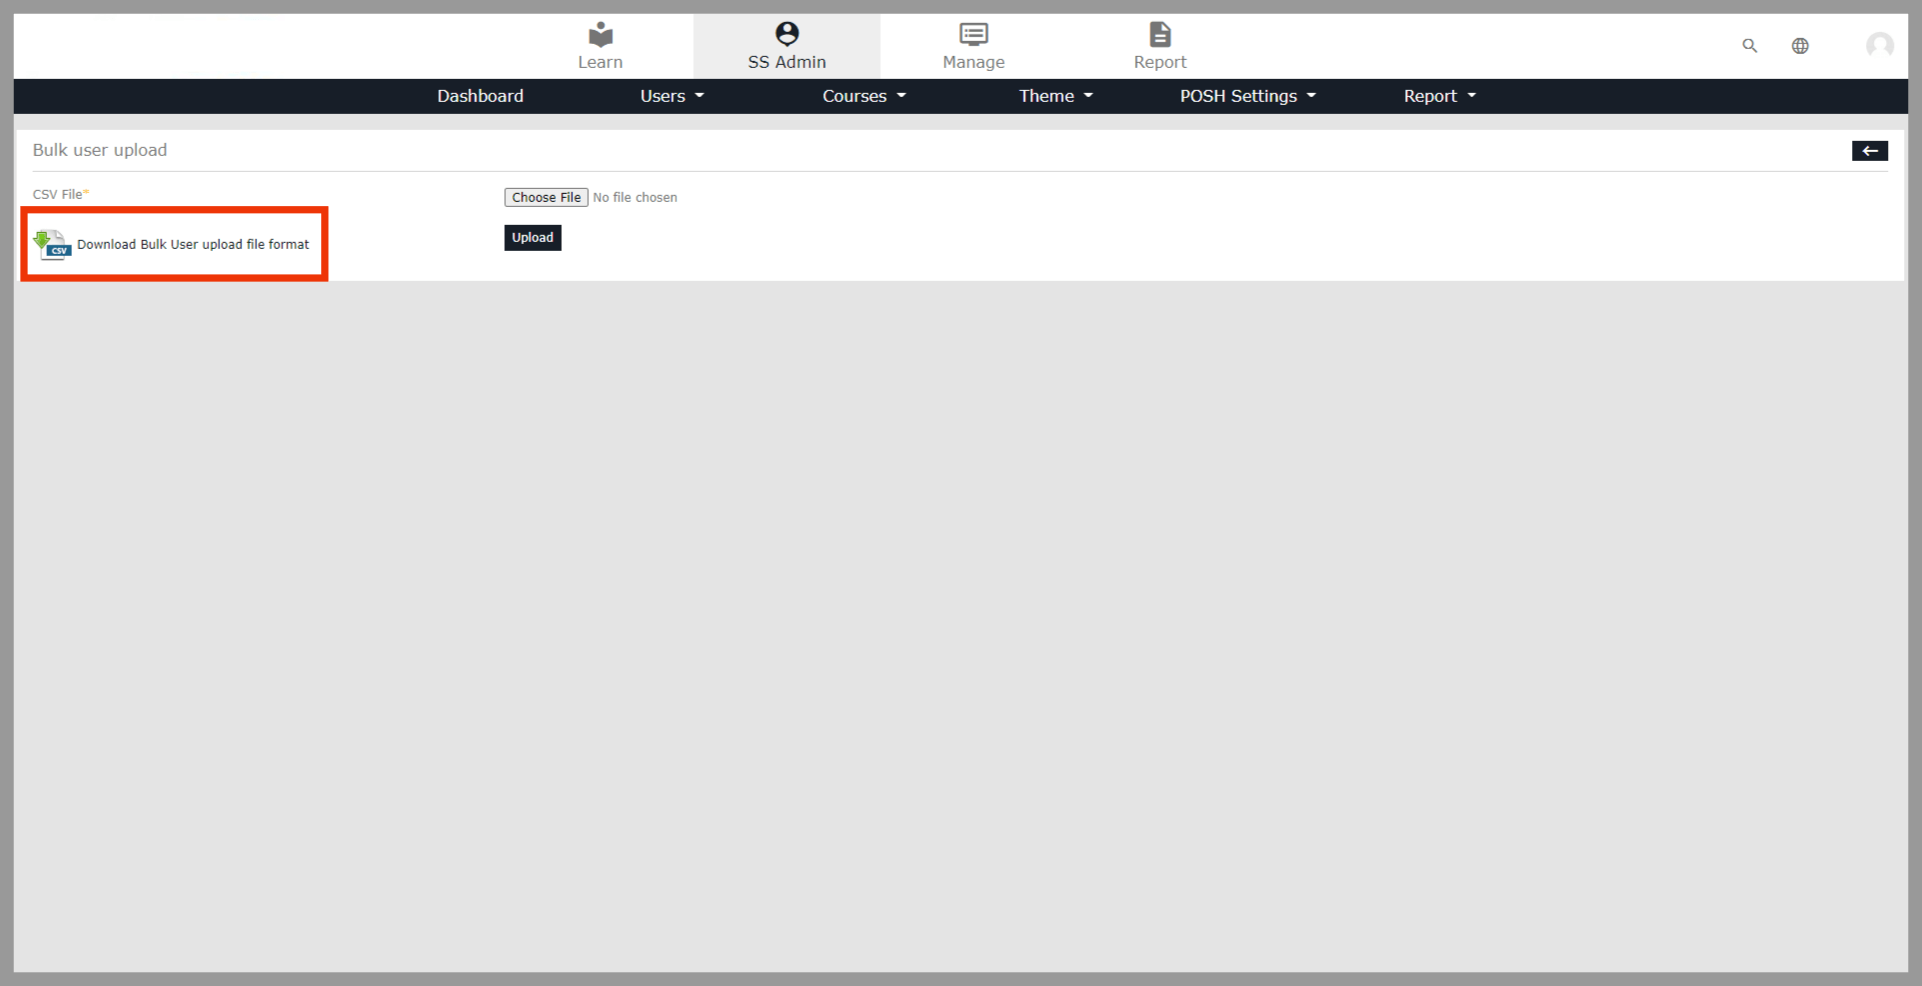 Enter the list of Email IDs. Save the file as CSV {CSV UTF-8 (comma delimited)} format
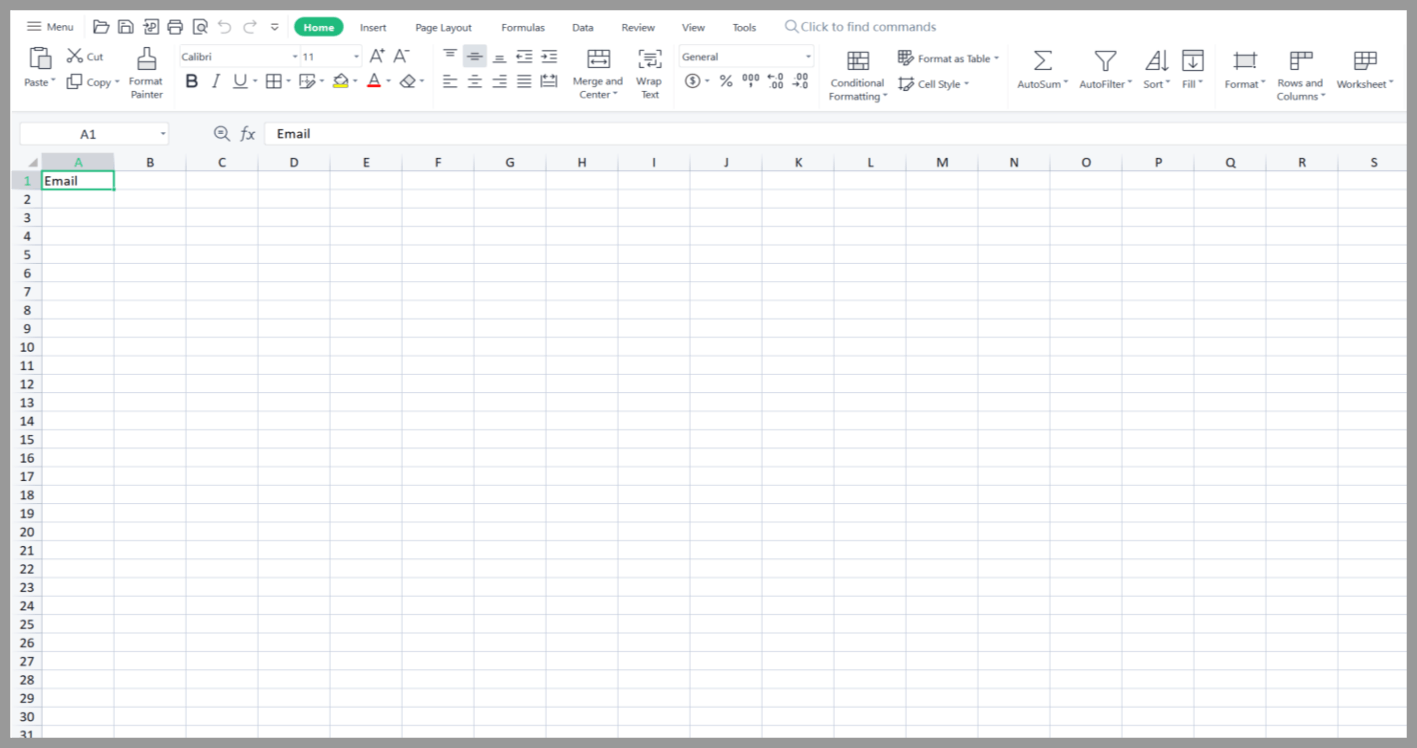 Now click on Choose File and select the saved excel sheet and upload it. Then Select Continue
 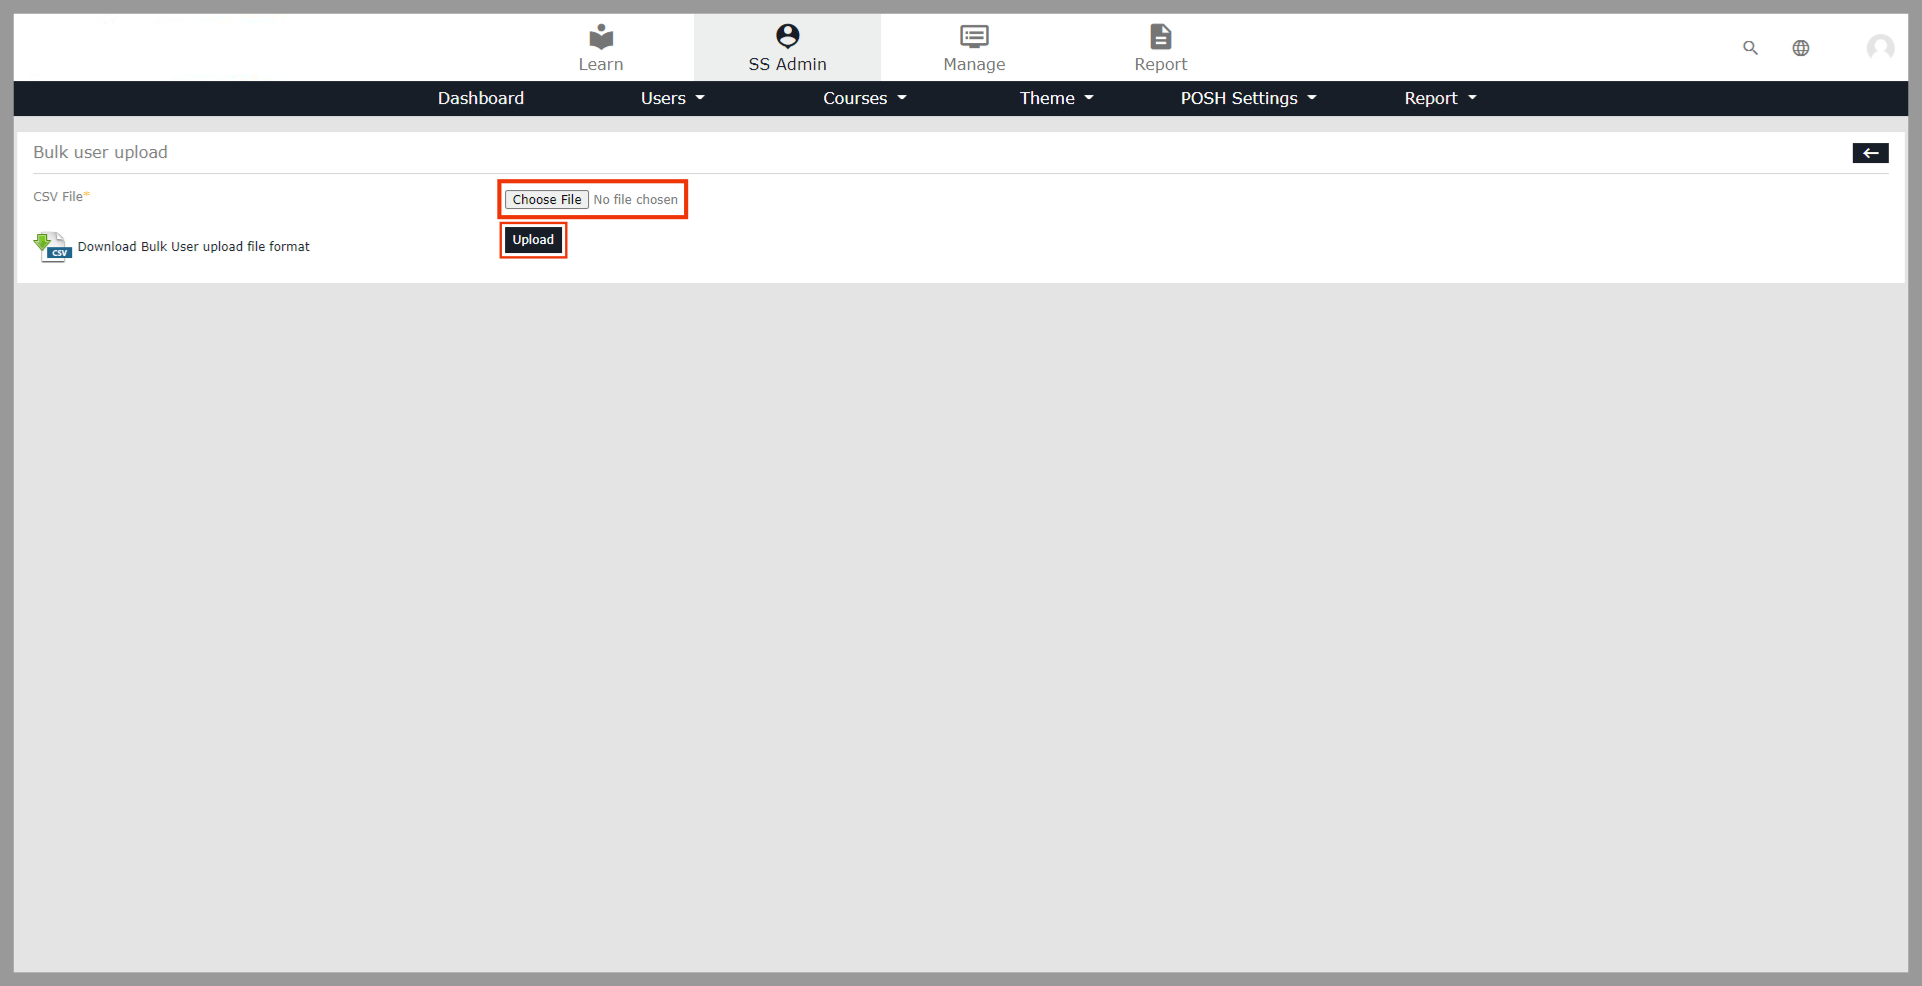 Select Continue if all the statuses of all the users are Ready to send
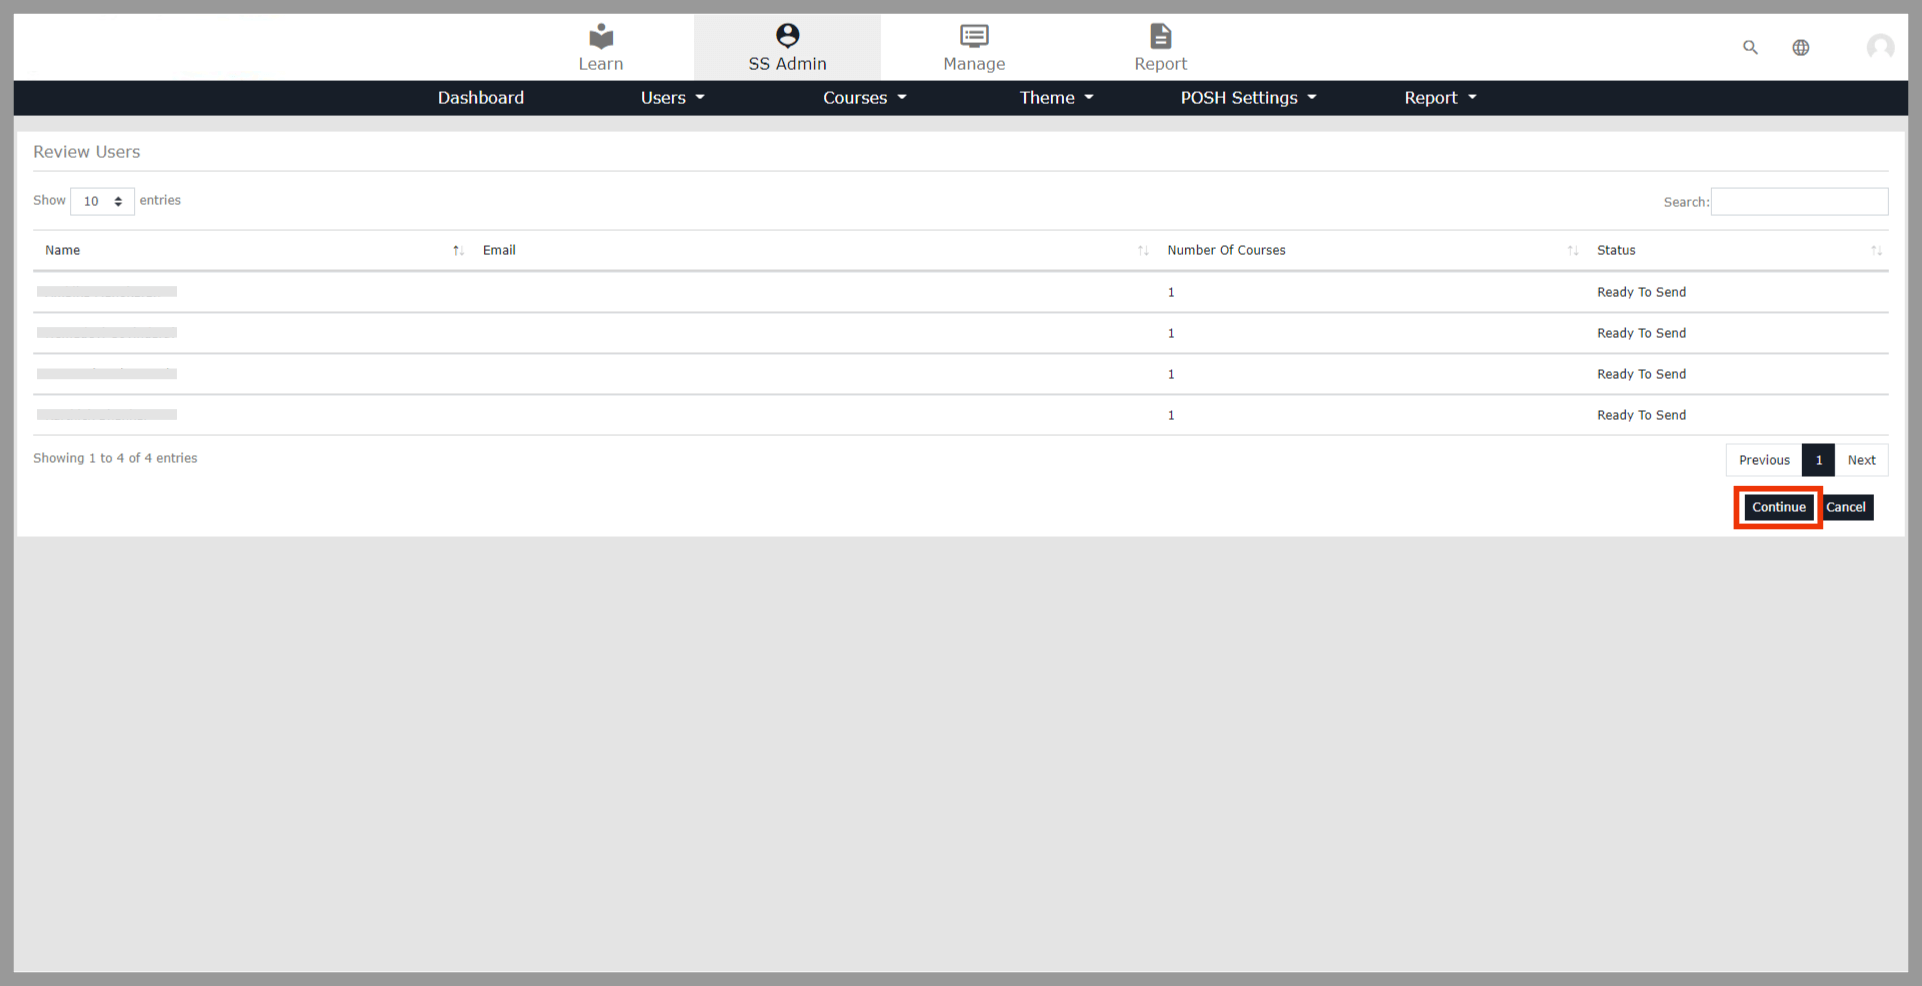 Scroll down and enable (checkbox) the Send Password option and then click Send
 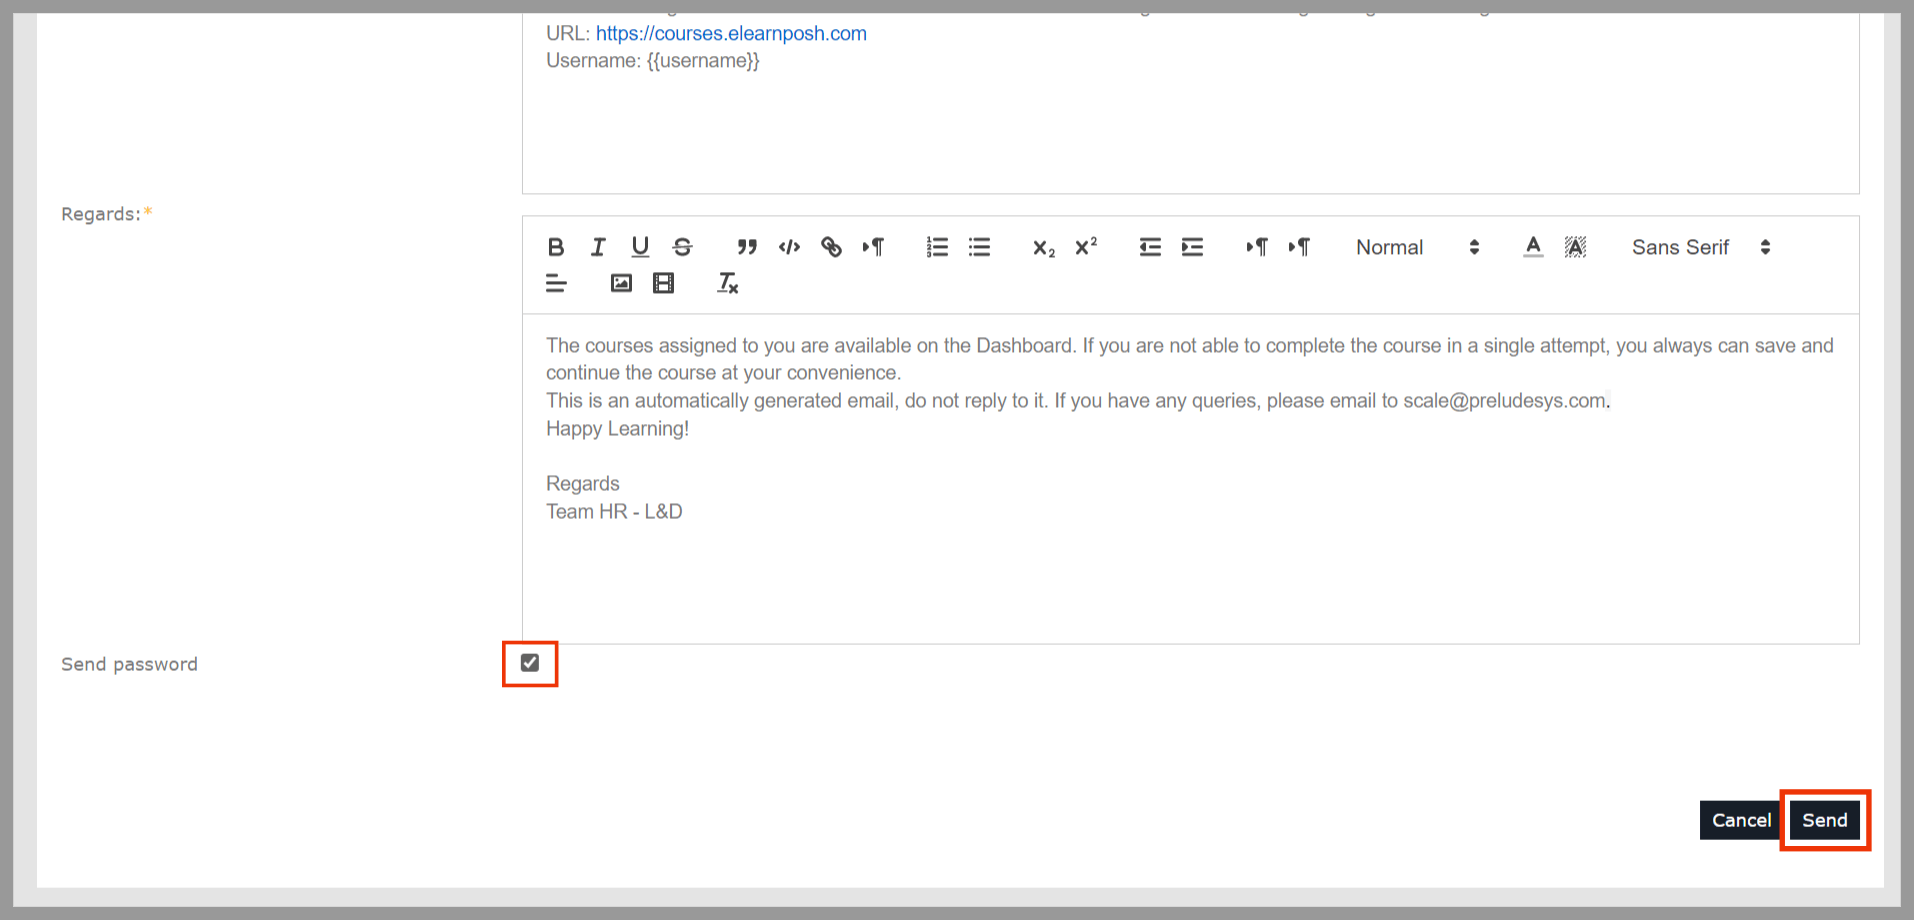 Please Note: Activation mail will be sent only if the user is enrolled in the course. The Activation mail may take up to 5 mins to reach the user’s inbox from the time of submission. The mail domain will be delivered from activation@elearnposh.com.